
| Qty | Description |
|---|---|
| 4 | 2x8x8' Construction grade lumber |
| 2 | 2x4x8' Construction grade lumber |
| 2 | 6' Deck Boards |
| 1 | 4x4x1/2 Plywood |
| 1 | 6x6 45 mil EPDM pond rubber |
| 1 | Box of 3" screws |
| 1 | Box of 1" screws |
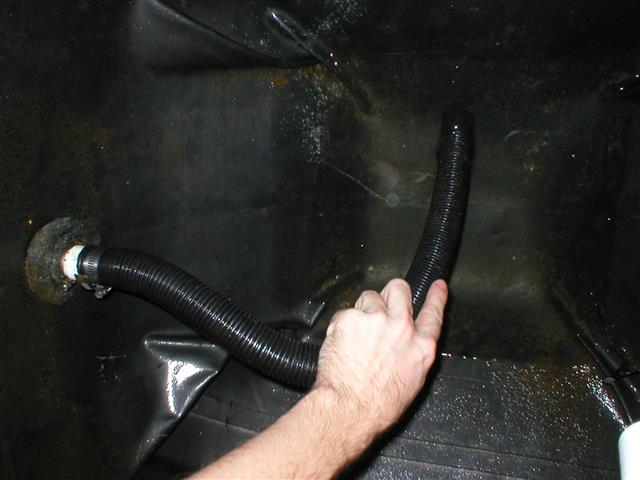
| 1 | 18" of 1 1/2 flexible sump pump hose (or other hose as appropriate) |
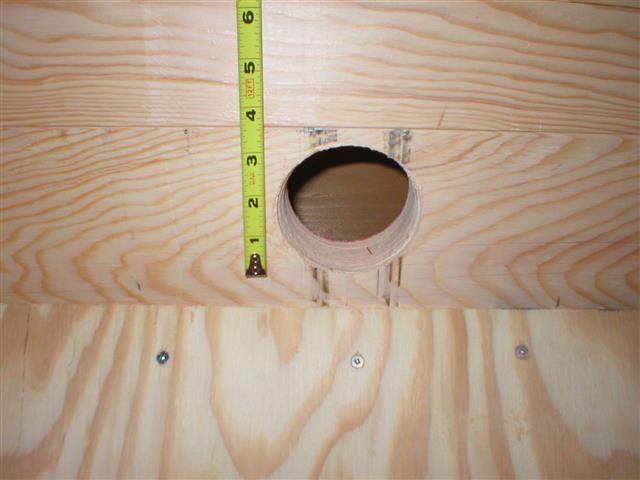
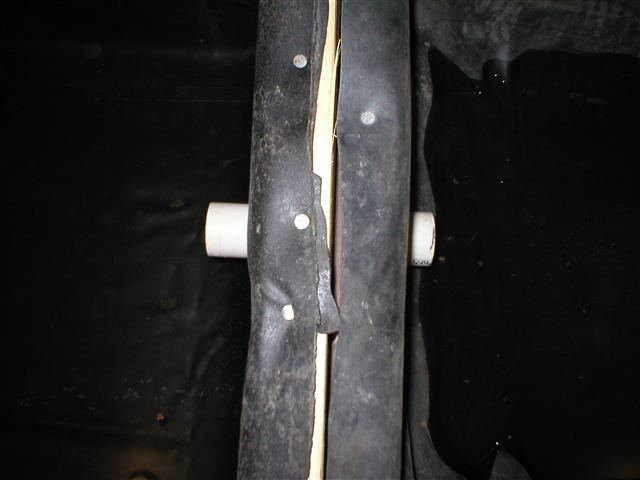
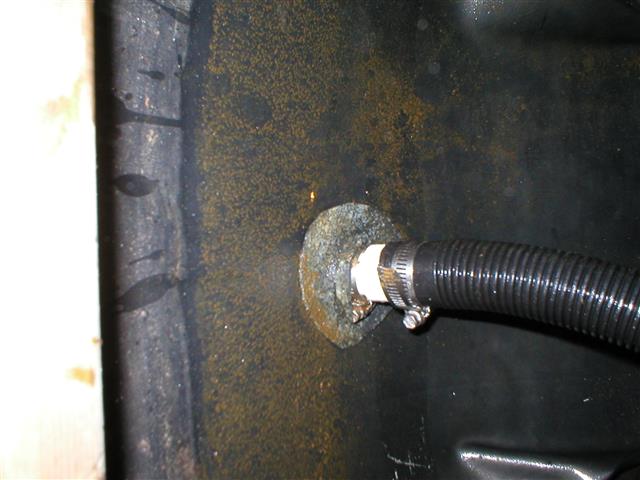
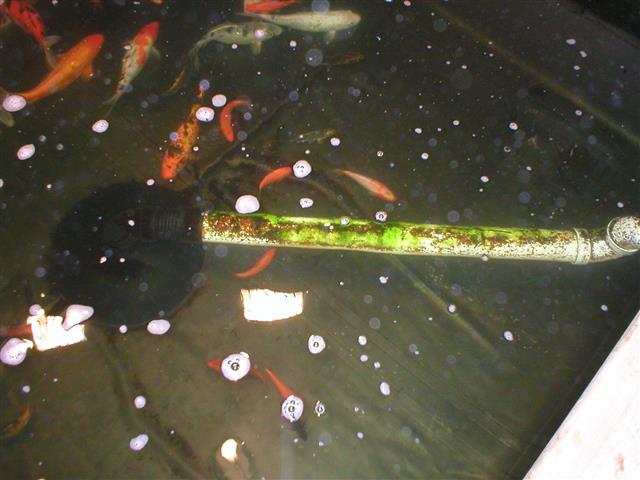
| 1 | 6" length of 2" diameter PVC pipe (used to connect the settling chamber to the pond) |
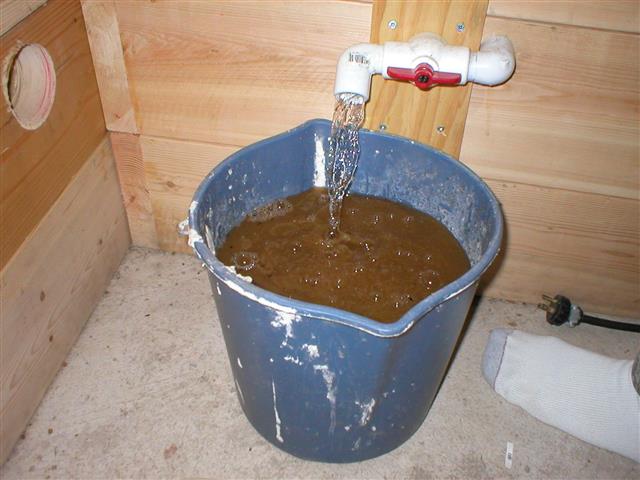
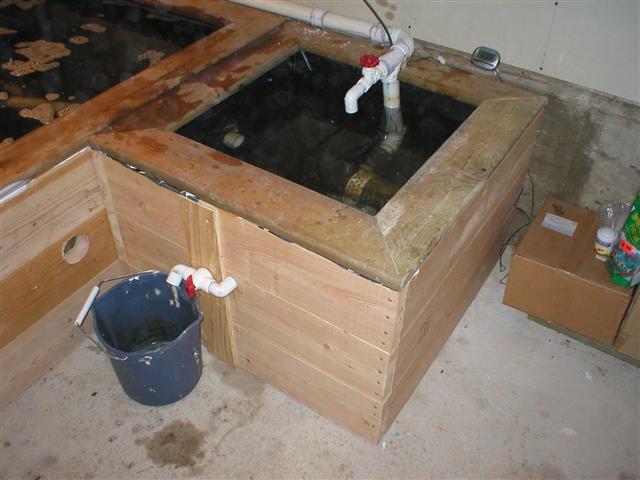
| 1 | 4" length of 3/4" diameter PVC pipe (drain line connection) |
| 1 | 3/4" PVC valve |
| 1 | 1" Stainless Steel hose clamp |
| 2 | 3" Stainless Steel hose clamp |