| Qty | Description |
|---|---|
| 12 | 2x8x6' Construction grade lumber |
| 4 | 6' Deck Boards |
| 2 | 4x8x1/2 Plywood |
| 12 | 10x10 45 mil EPDM pond rubber |
| 1 | Box of 3" screws |
| 1 | Box of 1" screws |
Assembly
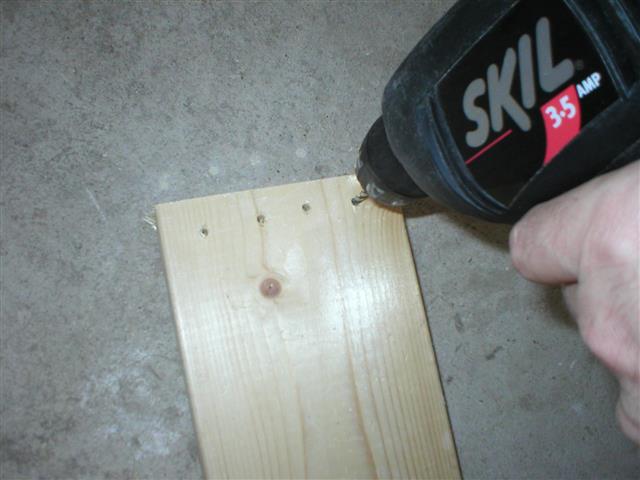
- Pre-drill 4 hole at each end of 6 of the 2x8 boards.
- Attach 4 of the boards together with screws to form a rectangluar ring.
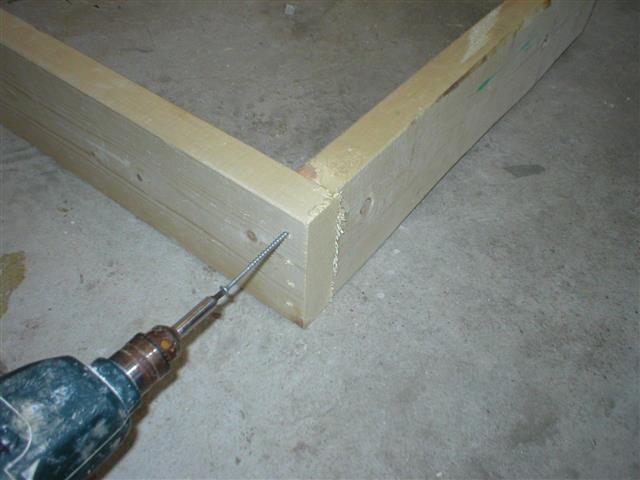
- Repeat the process with the rest of the boards. You should end up with 3 rectangular rings.
- Stack the rings on top of each other, until you have a rectangular frame 3 boards high.
- Cut the plywood and attache it to the inside of each of the 4 walls.
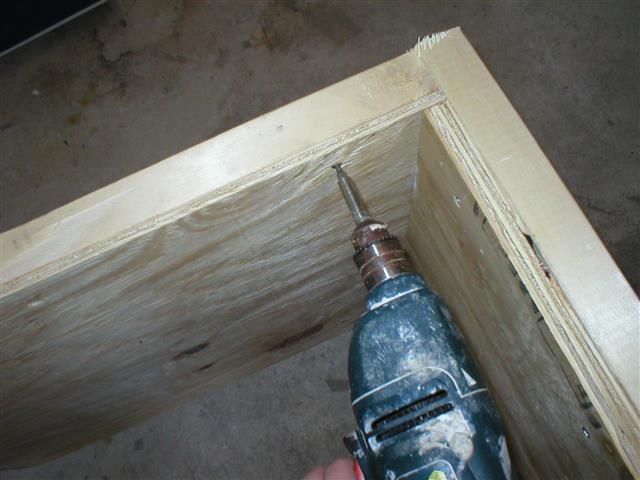
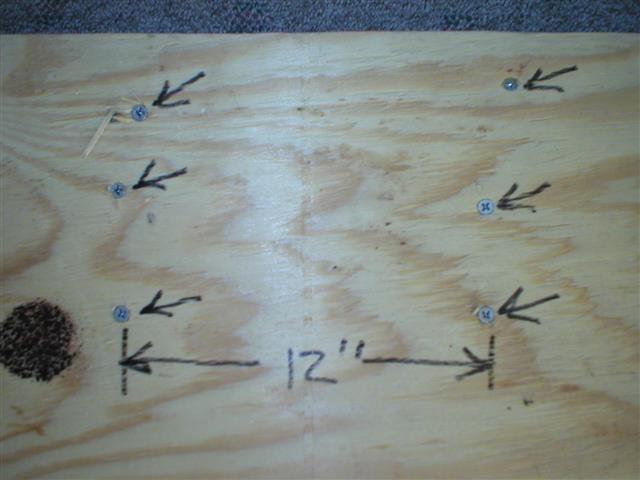
- Make sure you use plenty of screws. I recommend 3 rows of screws into each board vertically, and spaced every 12" horizontally.
- This step is optional. If you intend to use a gravity feed settling chamber, drill a hole through the boards where you intend to place the chamber.
- This step is optional. At this point, you could line the inside of the enclosure with foam carpet padding.
- Unfold the pond liner, and center it inside the wood frame.
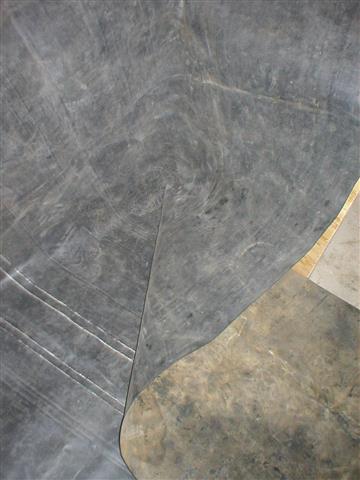
- The method of folding the corners will be a hidden hospital corner. The first step is to fold the liner like so:
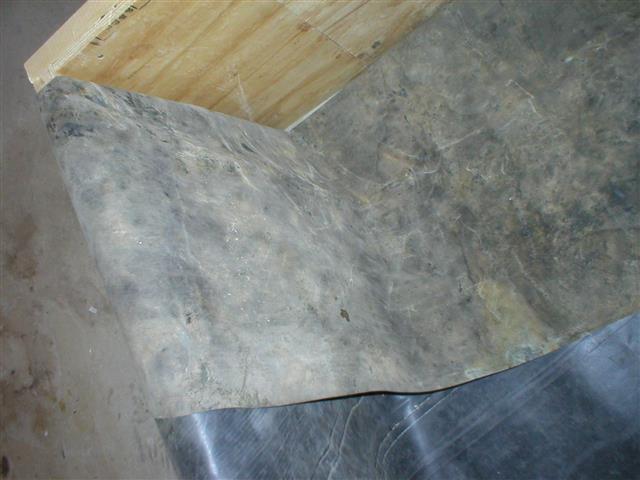
- Then fold the liner over to the other wall, forming a 45 degree fold at the bottom.
- Bring the fold up to the top edge of the wall
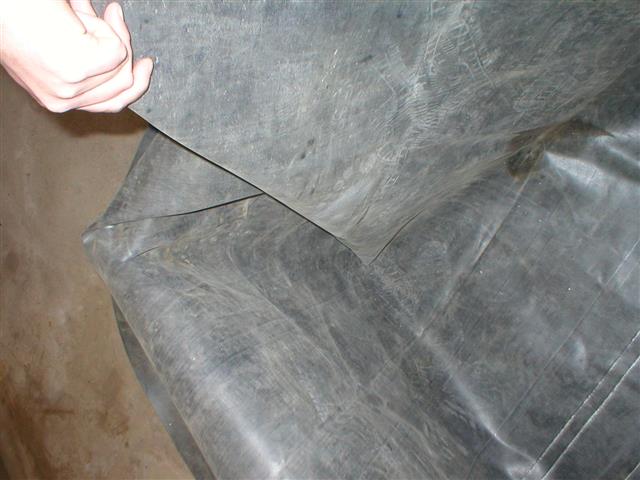
- Adjust the fold in the liner so that it meets up exactly in the corner.
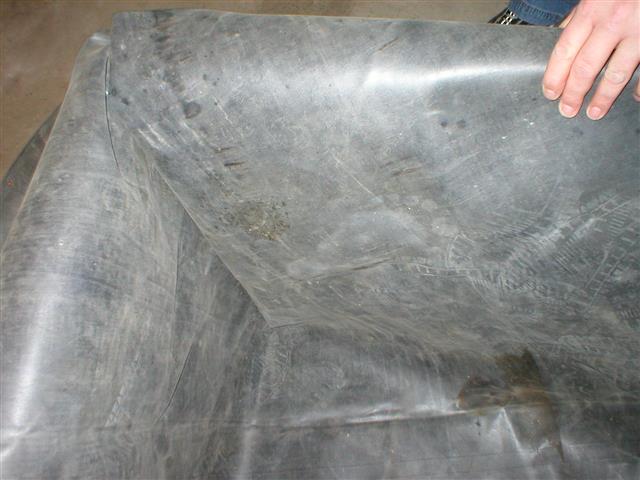
- Repeat the process for the other 3 corners.
- Fill the pond with water. Keep tension on the rubber as you do this so that the liner fits tightly in the frame.
- Attach the pond ruber to the top of the frame with roofing nails or screws.
- This step is options. Lay a thick bead of silicone sealant on the top of the frame. The silicone will keep water from splashing through the liner dripping down the back of the wood frame.
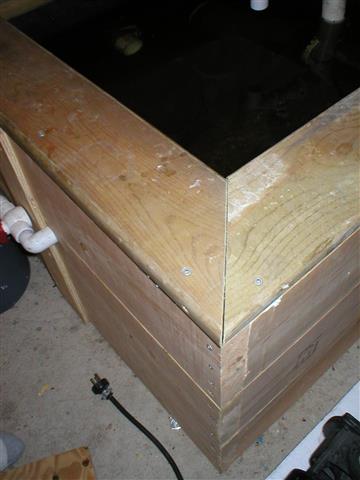
- Cut the ends of the deck boards at 45 degree angles, and mount them to the top of the frame. Make sure the screws are centered through the board.
- For instructions on how to build the settling chamber for this pond go here.
- For instructions on how to build the filter for this pond go here.
- For instructions on how to connect a bottom drain to this pond go here.