Greg Bickal's DIY Series: How to build a bottom drain for an existing pond (retro-fit)
Design
This style bottom drain is ment to be installed as a retro-fit for existing ponds over the liner. The following instructions are for a 3" bottom drain which will accommodate a 2400gph flow rate. For larger flow rates, please increase pipe diameter accordingly.
Materials
Assembly/Installation
Optional Configuration (if your bowl includes a lid):
The following steps are not necessary, however if you would like your drain to look exactly like the commercially sold drains, this configuration will do that. I would also be possible to fill the inside of the bowl with Cement instead of attaching the lid. If you intend to use these steps, stop at step 16 above, then follow these steps.
Design
This style bottom drain is ment to be installed as a retro-fit for existing ponds over the liner. The following instructions are for a 3" bottom drain which will accommodate a 2400gph flow rate. For larger flow rates, please increase pipe diameter accordingly.
Materials
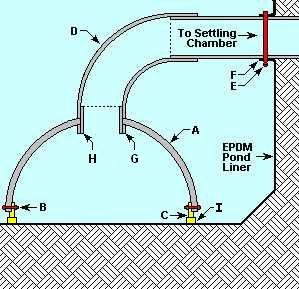
| Item | Qty | Description | Cost |
|---|---|---|---|
| A | 1 | 12" diameter Plastic Bowl | $1 |
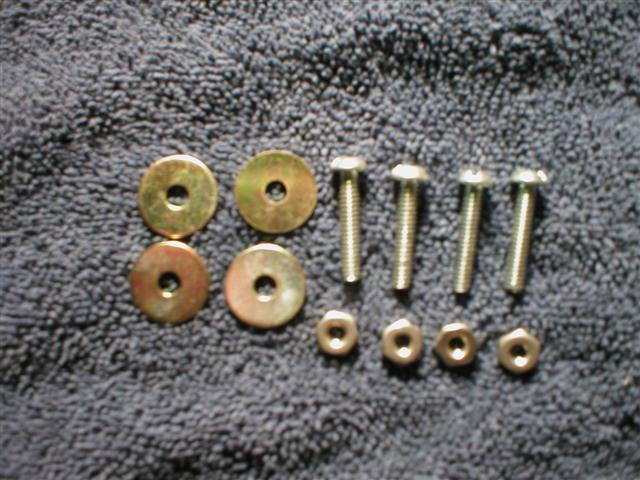
| B | 4 | Bolts, Washers & Nuts | $4 |
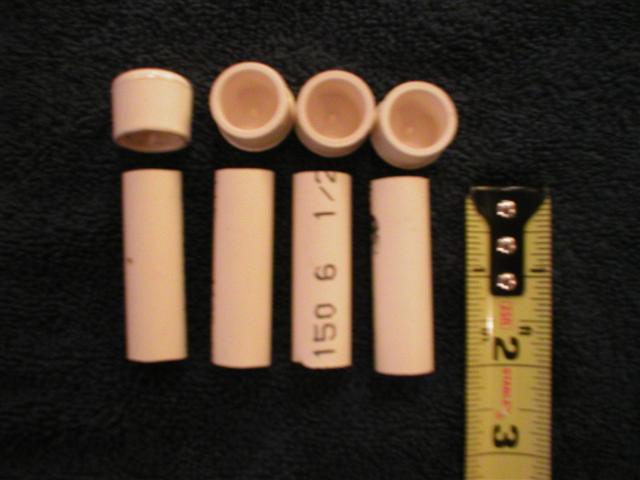
| C | 4 | 1/2" CPVC pipe, 2" length | $.50 |
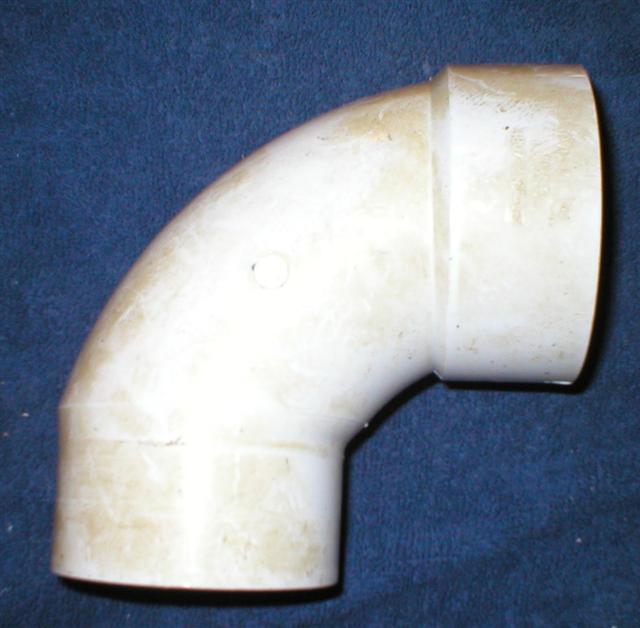
| D | 1 | 3" PVC Elbow | $2 |
| E | 1 | 3 1/2" Stainless Steel Hose Clamp | $.50 |
| F | 1 | Pipe Boot Donut | $.00 |
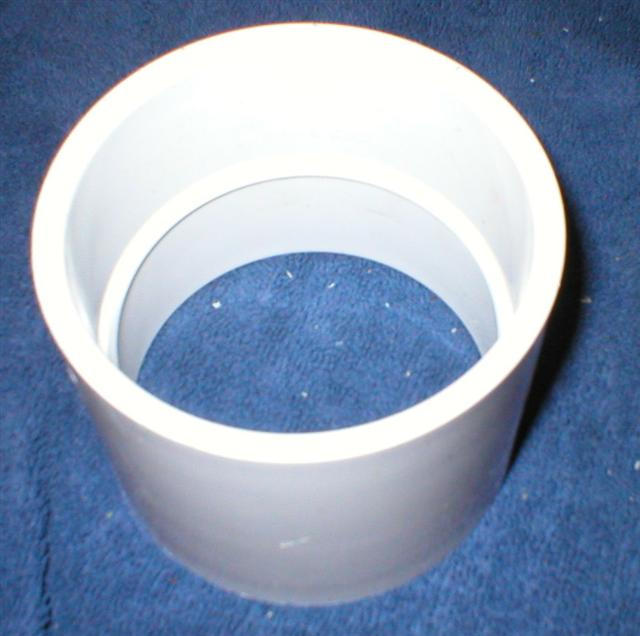
| G | 1 | 3" diameter PVC Union | $1 |
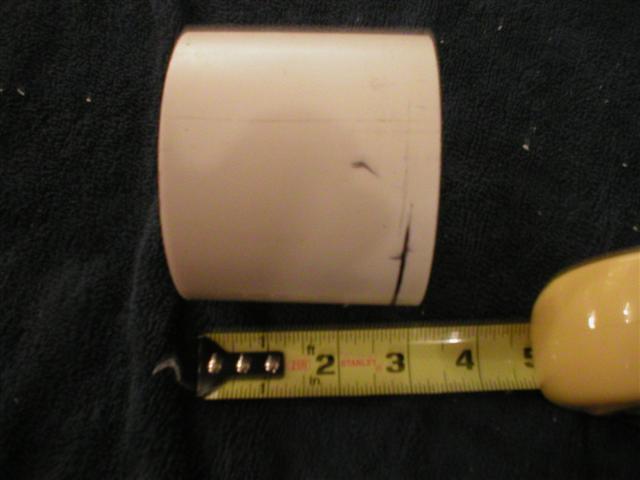
| H | 1 | 3" diameter PVC Pipe, 3" length | $.50 |
| I | 4 | 1/2" CPVC caps | $1 |
| 1 | CPVC Primer & Glue | $2 |
Assembly/Installation
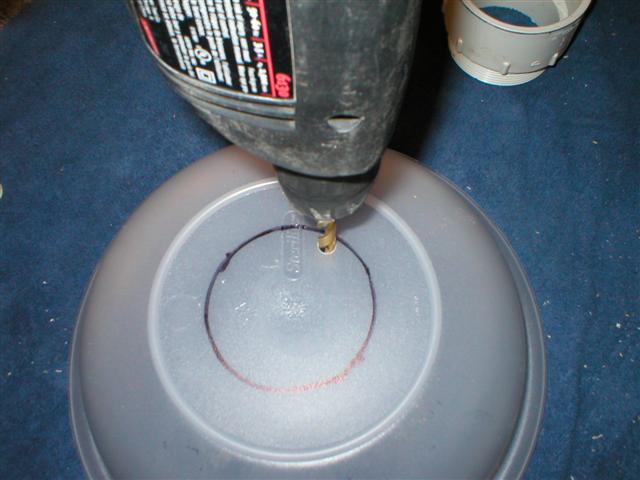
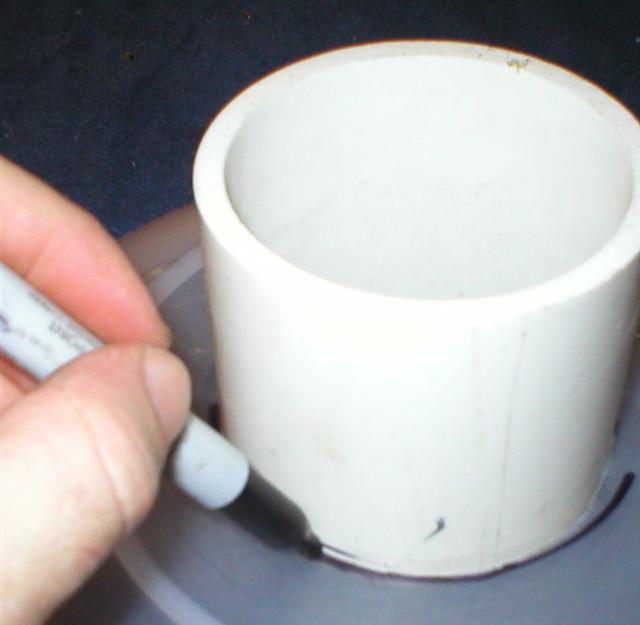
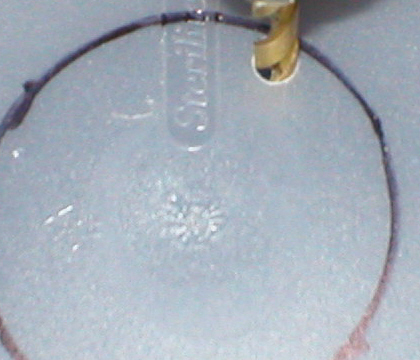
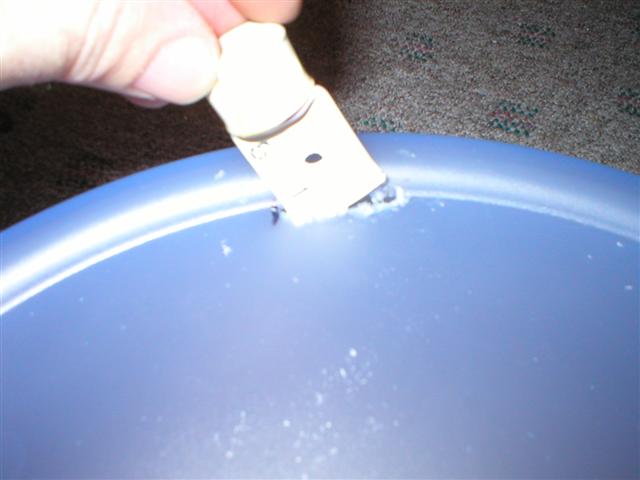
- Place the 3" diameter pipe (item H) on top of the bowl. Mark around the pipe with a marker.
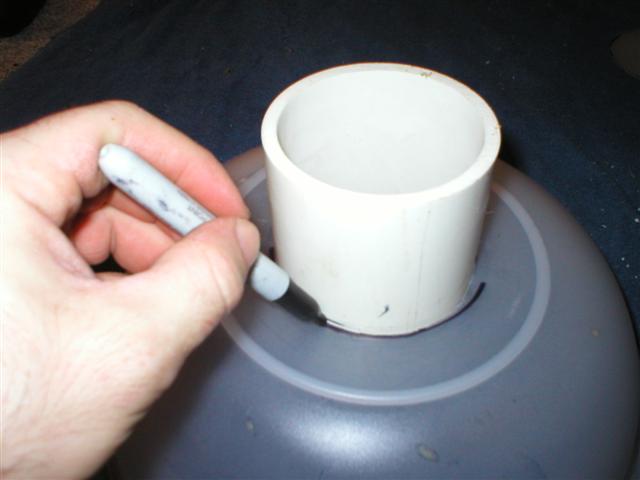
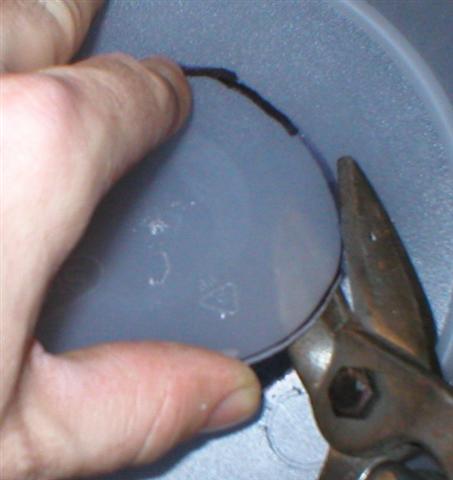
- Drill a 3/4" (or larger) hole near the inside edge of the line.
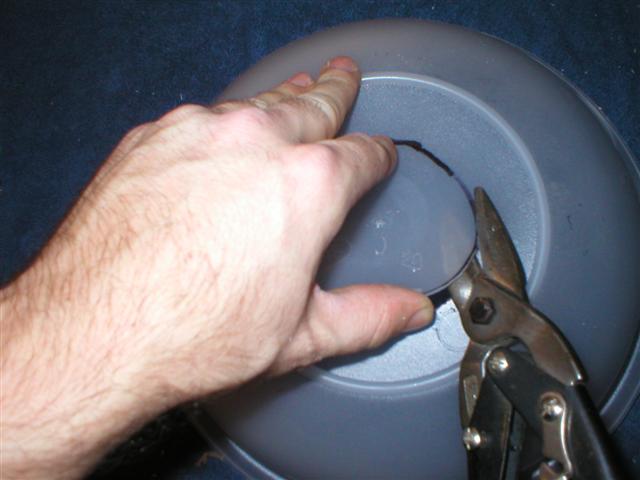
- Use a pair of tin snips to cut out the hole.
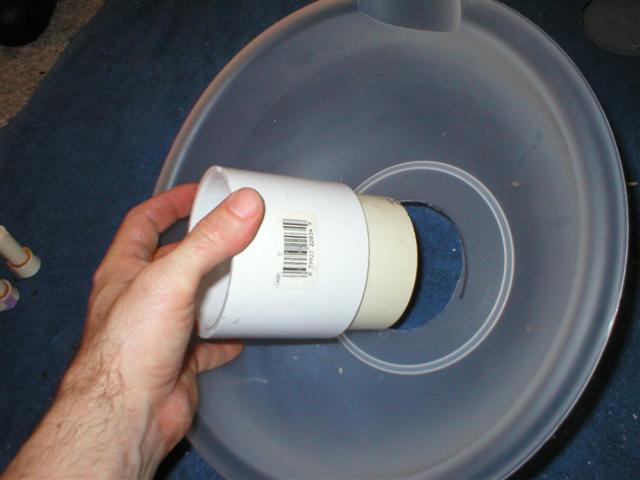
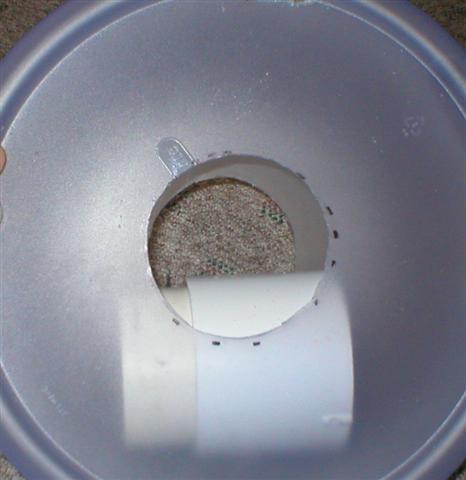
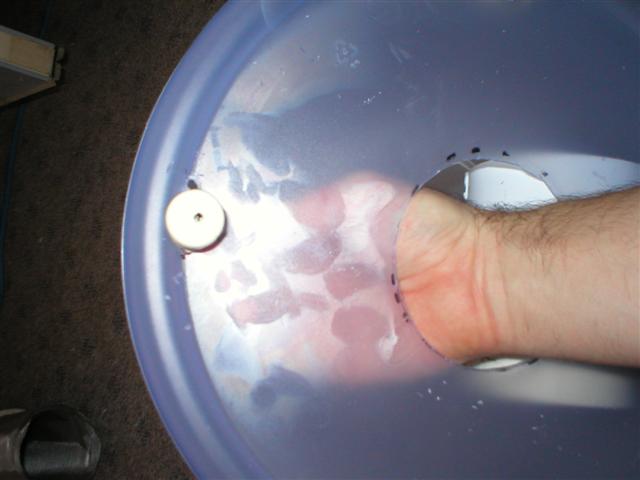
- Insert the 3" pipe into the union (item G). It is not necesary to glue these 2 together, as long as they fit snugly.

- Insert the pipe and union into the hole in the bowl.
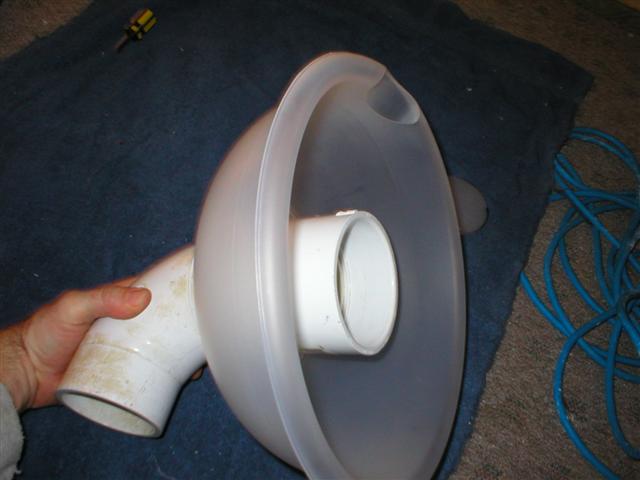
- Attach the Elbow to the outside of the bowl. The elbow should fit snug, and not allow the bowl to spin very easily.
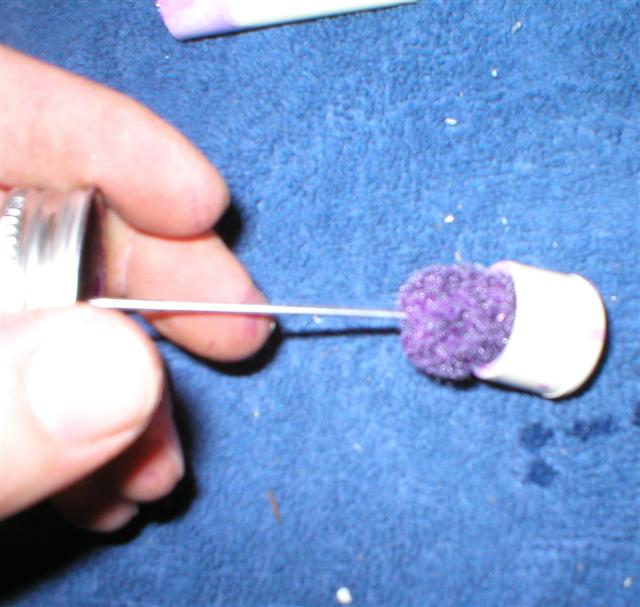
- Primer one end of each of the four CPVC pipes. Allow to dry.
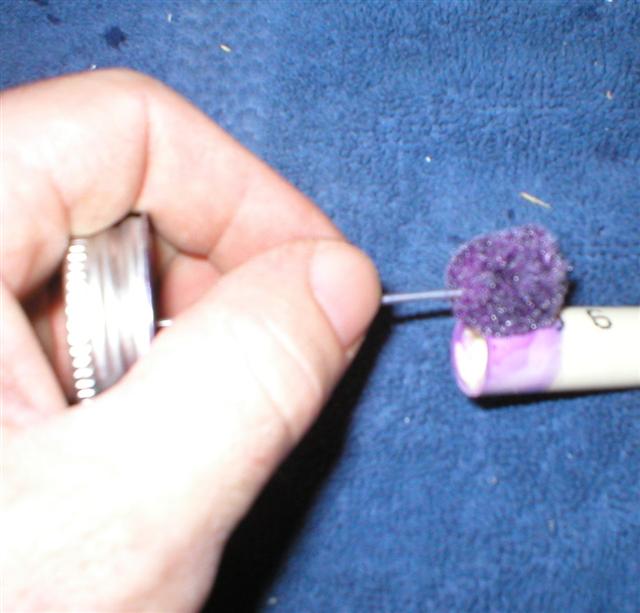
- Primer the inside of all the CPVC caps. Allow to dry.
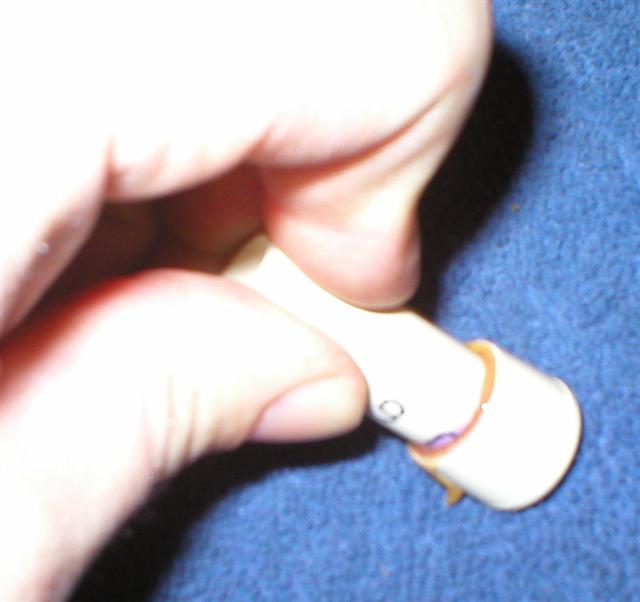
- Apply glue to the end of a CPVC pipe.
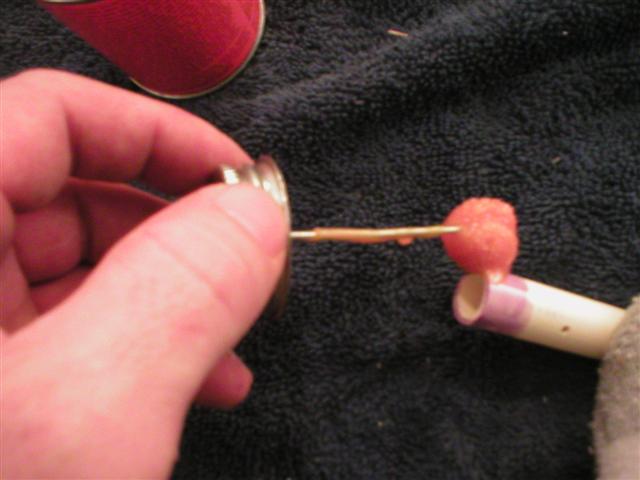
- Apply glue to the inside of a CPVC cap.
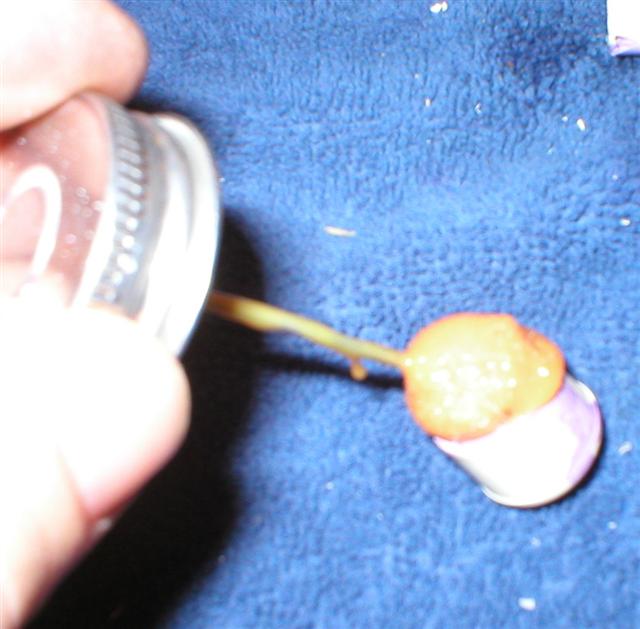
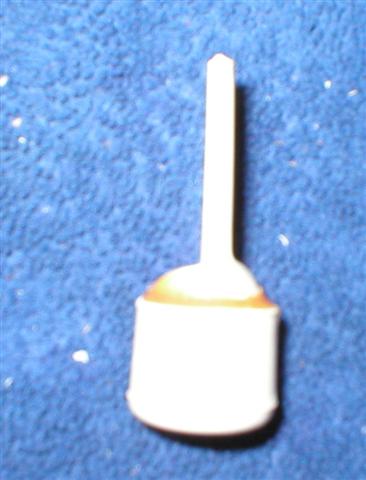
- Insert the PVC pipe into the PVC cap. Hold for 30 seconds before releasing.
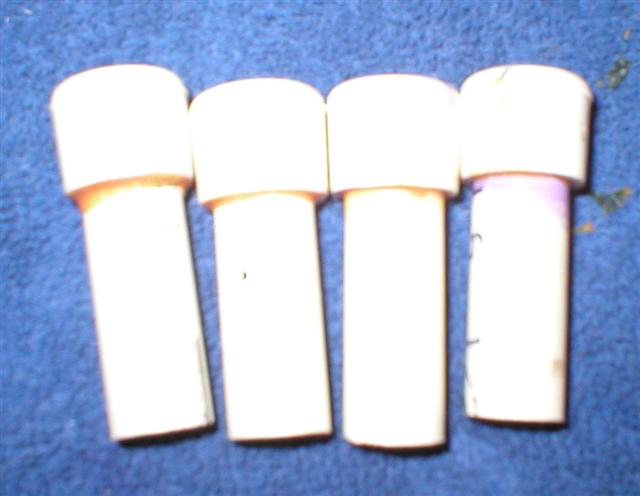
- Repeat the process for the other three. You should wind up with 4 units as shown. Allow the units to cure overnight.
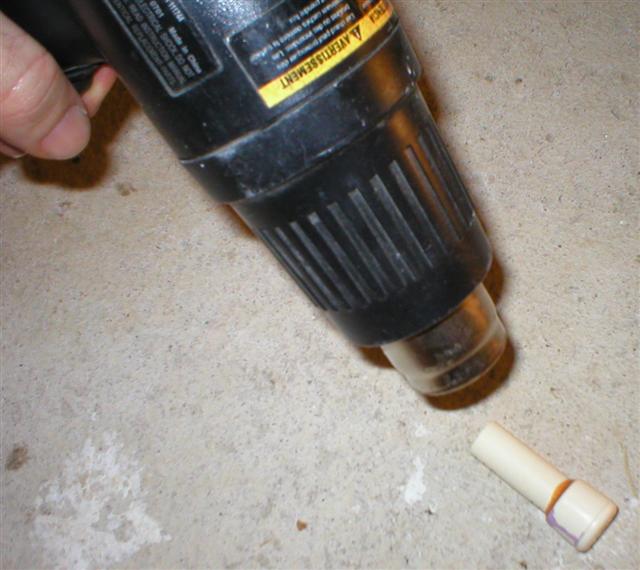
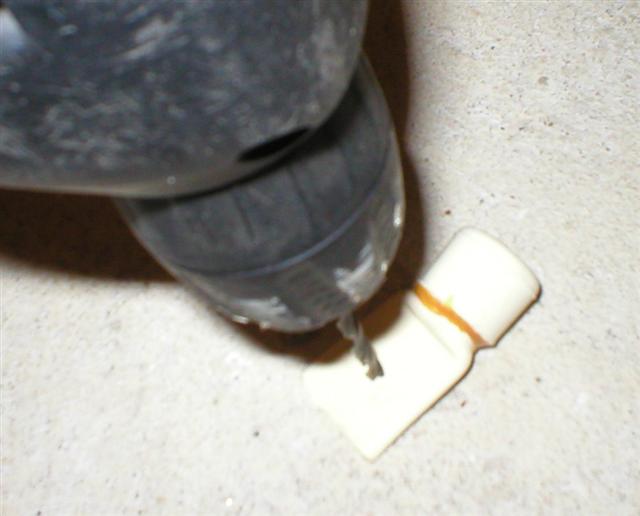
- Heat the end of the pipe with a heat gun or over the stove.
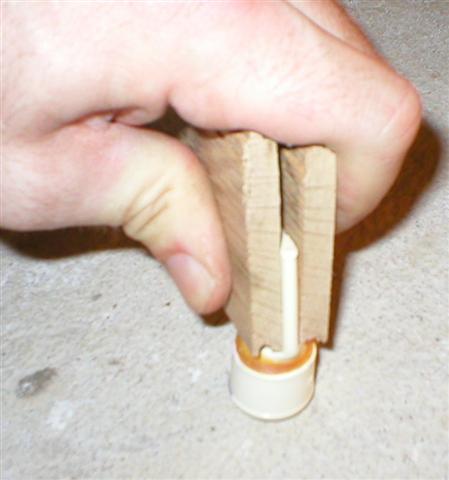
- Squeeze the end flat with a pair of flat pliers, or between 2 boards. This is now a leg for the drain cover.
- Repeat this process with the other 3 pipes. The peices should look something like this.
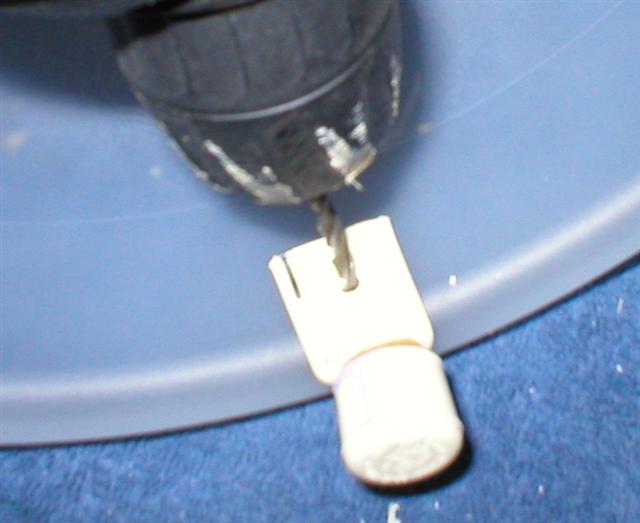
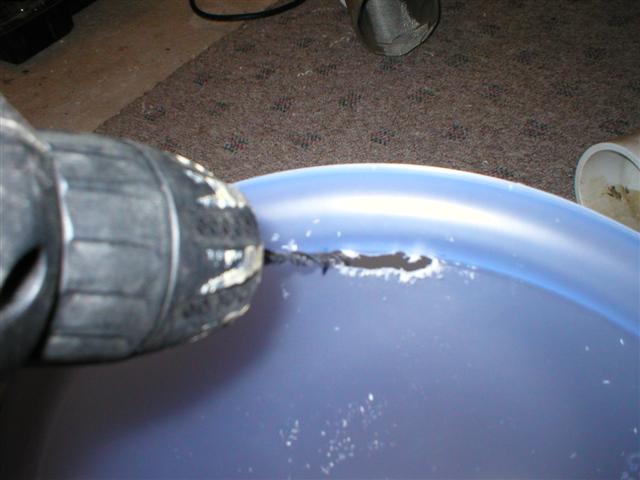
- Pre-Drill a hole through the legs.
- Using a leg as a guide, drill through the bowl.
- Slip a washer over a bolt, then insert into a leg, then insert into the hole in the bowl.
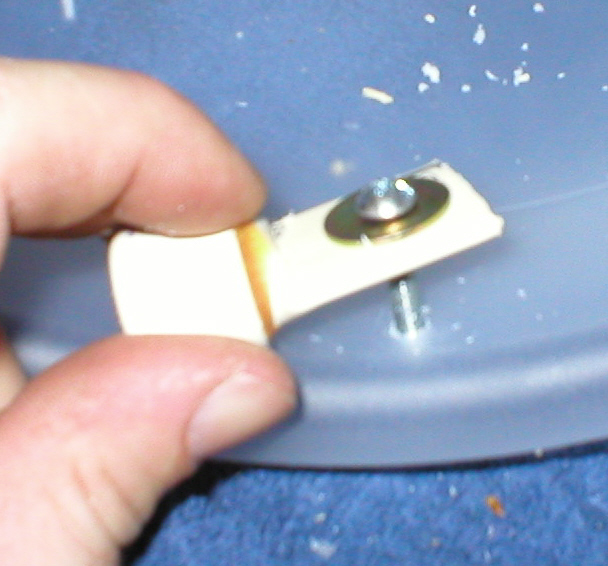
- Attach a washer and nut to the other side of the bowl, and tighten.
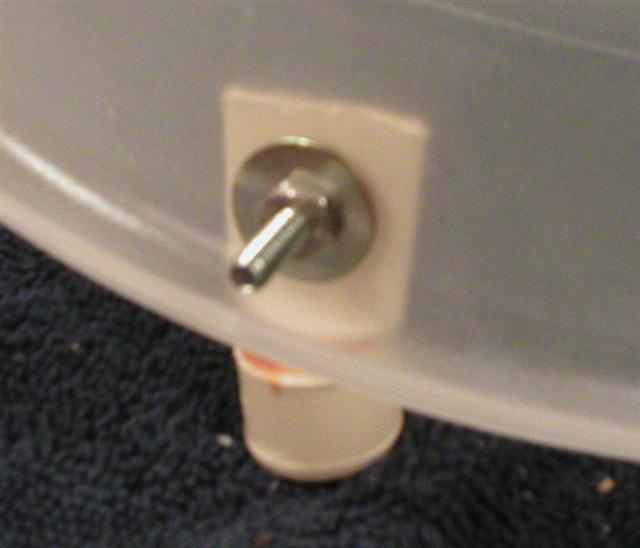
- Repeat the process with the other three legs.
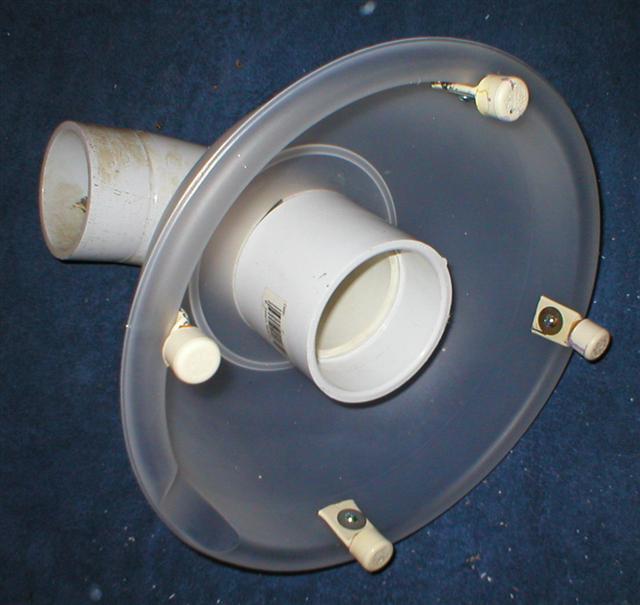
- Set your bottom drain in place in the pond.
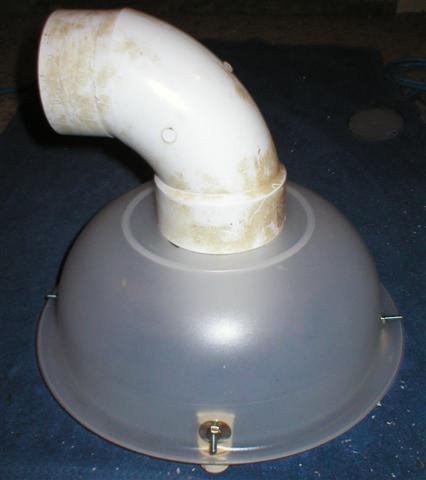
- Attach plumbing (as necessary) to connect the drain over to the edge of the pond.
- Connect the plumbing through the wall of the pond liner using the Pipe Boot.
Optional Configuration (if your bowl includes a lid):
The following steps are not necessary, however if you would like your drain to look exactly like the commercially sold drains, this configuration will do that. I would also be possible to fill the inside of the bowl with Cement instead of attaching the lid. If you intend to use these steps, stop at step 16 above, then follow these steps.
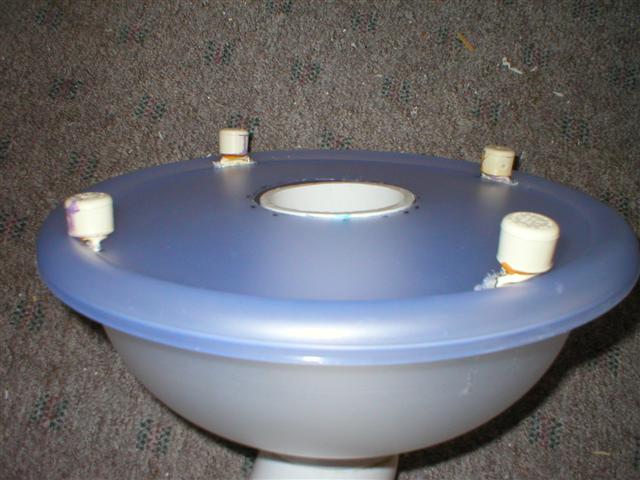
- Place the 3" diameter pipe (item H) on top of the bowl lid. Mark around the pipe with a marker.
- Drill a 3/4" (or larger) hole near the inside edge of the line.
- Use a pair of tin snips to cut out the hole.
- Place the 3" pipe which is attached to the union inside the bowl. Attach the lid to the bowl.
- Use a drill to make slots for the legs to insert through the bowl.
- Insert the leg through the slot.
- Slide your hand through the hole, and insert a bolt (with washer) through the hole. Attach a washer and nut to the
outside of the bowl and tighten. Repeat the process for the other three legs.
- Re-attach the elbow to the pipe and union.
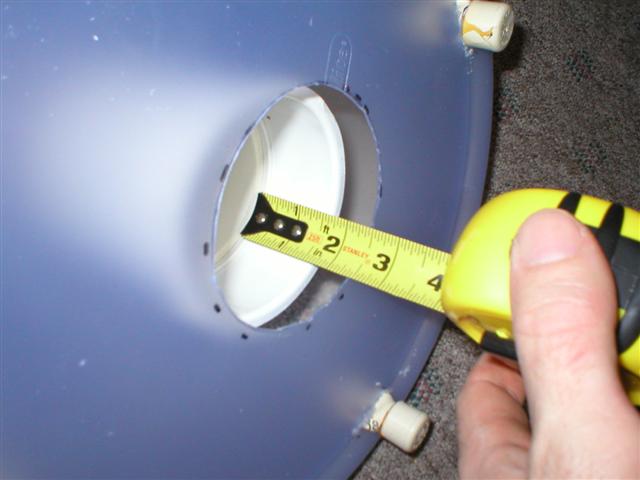
- Measure the distance from the inside of the union to the rim of the bowl lid. Cut a peice of PVC pipe to fit, and insert
the pipe into the union.
- The completed drain.