Greg Bickal's DIY Series: Installing a Pipe Boot
This article was published in Watergardening Magazine. Also, I am left handed person using righty sissors!
Attaching piping through the wall of a pond is a scary endeavor for some ponders. Deliberatly cutting a hole in the liner sounds like a forbidden taboo. You've probably seen this situation several times when visiting other ponds, and mabye even at your own pond. The pond has a submersable pump, and the piping comes up and over the pond edge before disappearing into the dirt. Oh, we make attempts to disguise the piping by painting it black, or covering it with rocks, or growing plants over or around it, but no matter how hard we try, it always seems to stick out and distract us from the beauty of the pond.
The common alternative on the market is the bulkead fitting. They come in various sizes. A 2" fitting would work great for a pump line and typically cost you about $10. What if you needed bigger? Say a 4" line for a gravity flow to a settling chamber. A 4" bulkhead fitting will cost you about $50. That price might make us be more conservative with our plumbing than is necessary.
So the bulkhead fitting will work, but isn't there a cheaper alternatave ? If you are using rubber liner (EPDM), the answer Yes, and its so inexpensive, that you'll wonder why nobody ever told you about it until now. Its called a pipe boot. It isn't a new concept, roofers and professional pond builders have been doing it for years. It will work on any diameter, from 1/2 inch pipe, to a 55 gallon barrel. The only item you need to purchase is a stainless steel hose clamp the diameter of your pipe. Can you envision connecting a 4" pipe through your liner for only $2. I can, and have many such connections throughout my pond system. Here's how its done:
Materials
Installation

This article was published in Watergardening Magazine. Also, I am left handed person using righty sissors!
Attaching piping through the wall of a pond is a scary endeavor for some ponders. Deliberatly cutting a hole in the liner sounds like a forbidden taboo. You've probably seen this situation several times when visiting other ponds, and mabye even at your own pond. The pond has a submersable pump, and the piping comes up and over the pond edge before disappearing into the dirt. Oh, we make attempts to disguise the piping by painting it black, or covering it with rocks, or growing plants over or around it, but no matter how hard we try, it always seems to stick out and distract us from the beauty of the pond.
The common alternative on the market is the bulkead fitting. They come in various sizes. A 2" fitting would work great for a pump line and typically cost you about $10. What if you needed bigger? Say a 4" line for a gravity flow to a settling chamber. A 4" bulkhead fitting will cost you about $50. That price might make us be more conservative with our plumbing than is necessary.
So the bulkhead fitting will work, but isn't there a cheaper alternatave ? If you are using rubber liner (EPDM), the answer Yes, and its so inexpensive, that you'll wonder why nobody ever told you about it until now. Its called a pipe boot. It isn't a new concept, roofers and professional pond builders have been doing it for years. It will work on any diameter, from 1/2 inch pipe, to a 55 gallon barrel. The only item you need to purchase is a stainless steel hose clamp the diameter of your pipe. Can you envision connecting a 4" pipe through your liner for only $2. I can, and have many such connections throughout my pond system. Here's how its done:
Materials
| Item | Qty | Description | Cost |
|---|---|---|---|
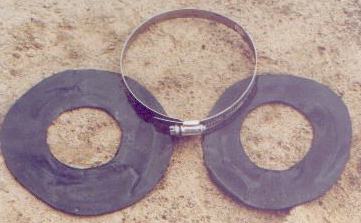
| A | 1 | Marine Grade Stainless Steel Hose Clamp 5-7" | $2 |
Installation
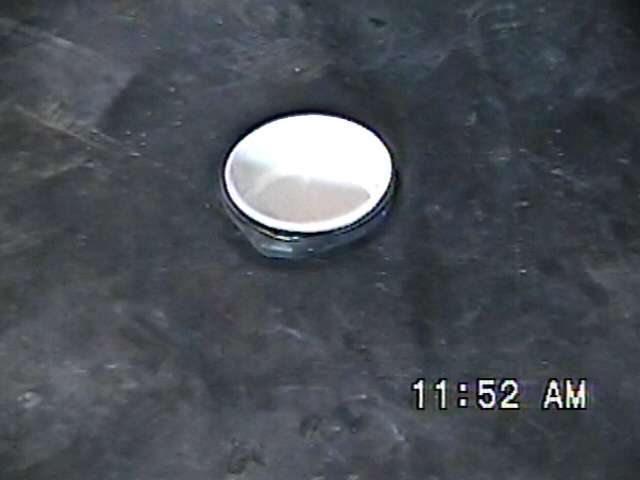
- Cut 2 washer shaped pieces of liner. The outside diameter should be the same as the diameter
of the pipe, the inside diameter should be the same as the hole you cut in the liner. Example, you have a 4" pipe you would cut a 2" hole.
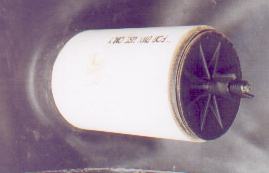
- Mark the liner where you intend to cut. I like to use a 2" union as the measurement for pipe boots which attach to the outside of a 4" elbow.
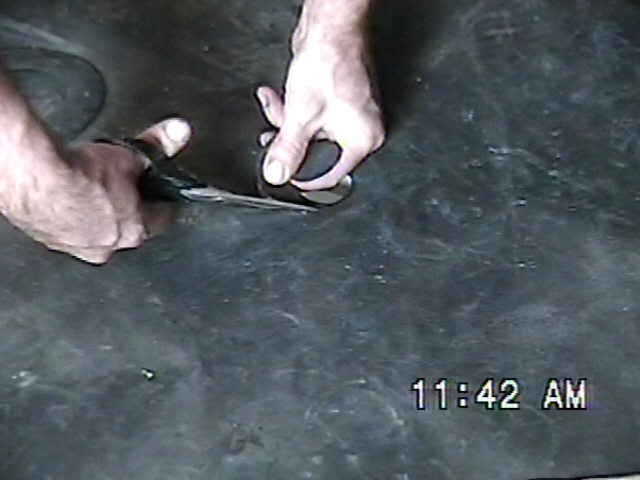
- Poke the sissors through the center of the hole to get the cut started.
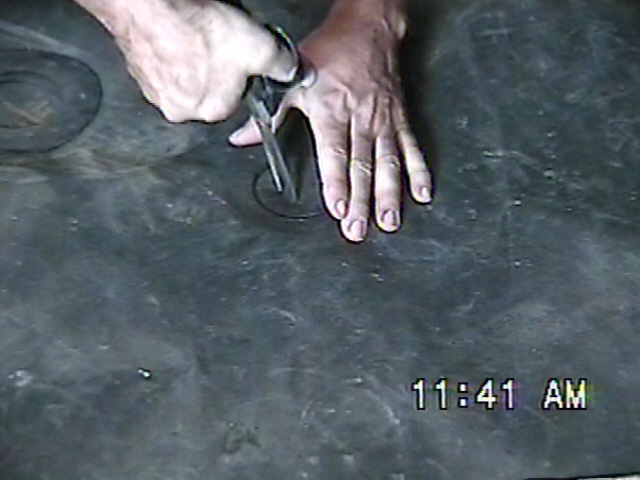
- Cut a path to the marked area.
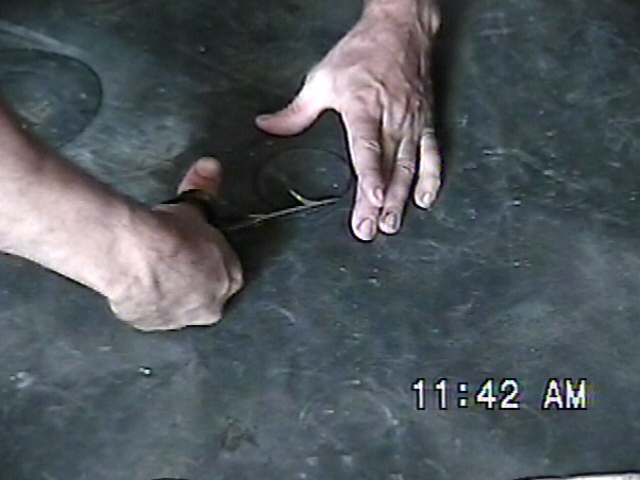
- Cut out the marked area. Do not leave any burred edges.
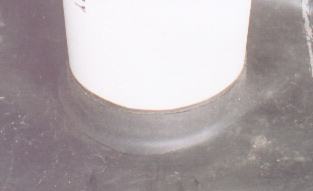
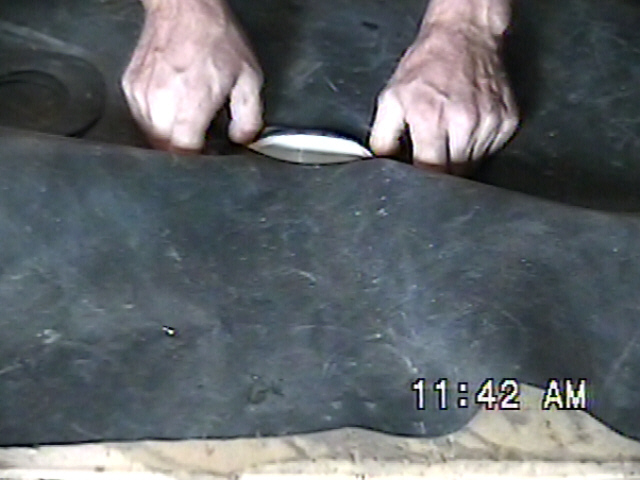
- Using your thumbs, Start streching the liner over the pipe. Start on the side closest to you.
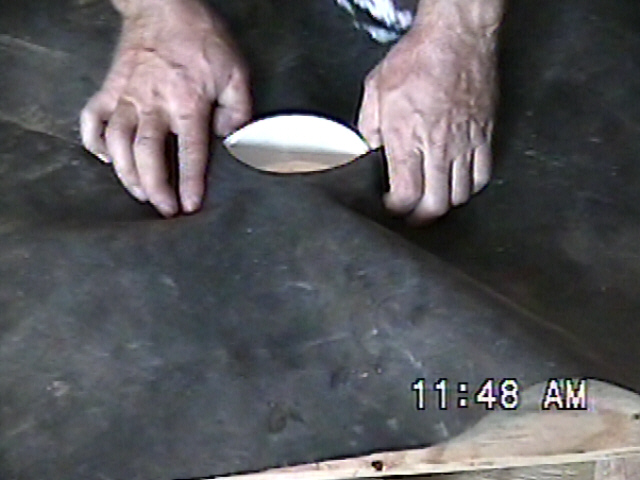
- Stretch & wrap one of these washer chunks of liner over the lip around the pipe. This protects your pond liner from the cleats on the hose clamp.
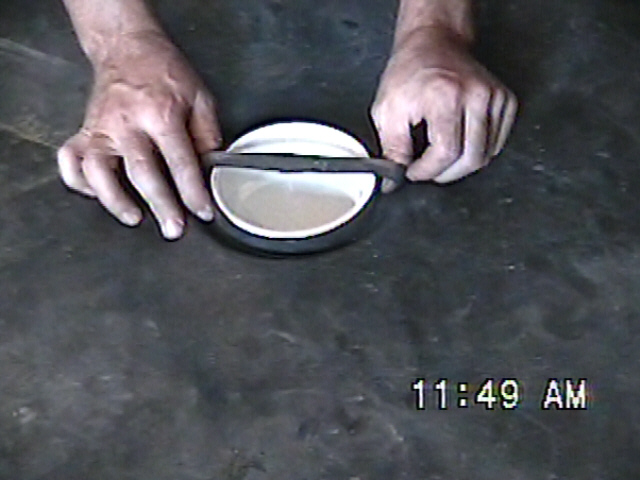
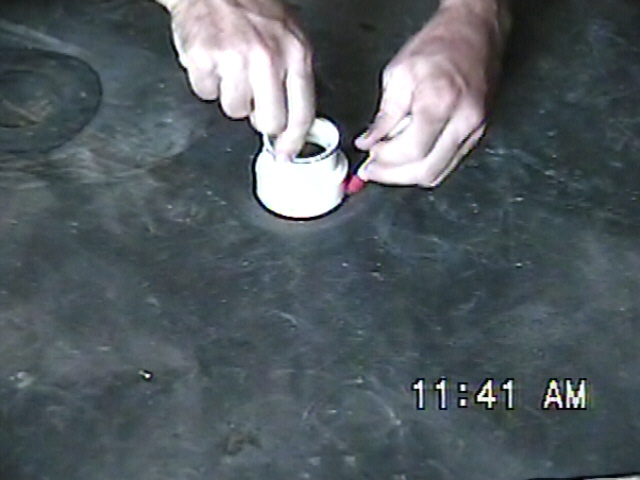
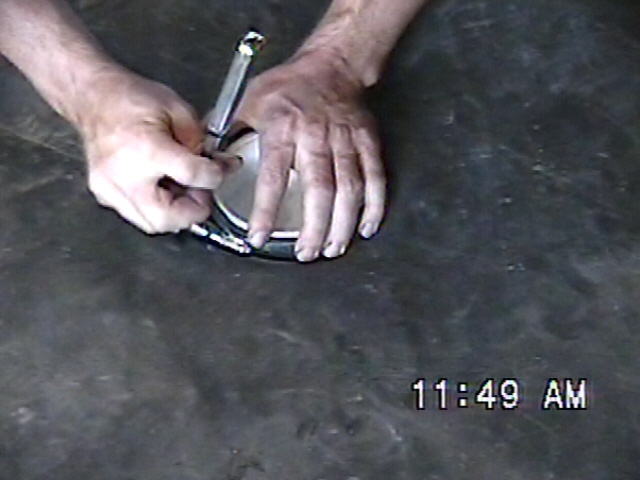
- Install the clamp using a screw driver to get it snug.
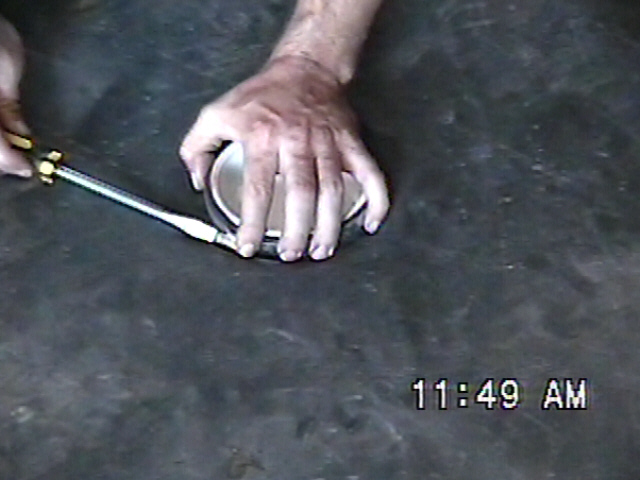
- Tighten with a socket wrench.
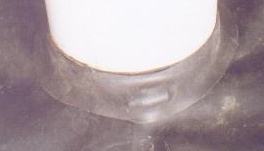
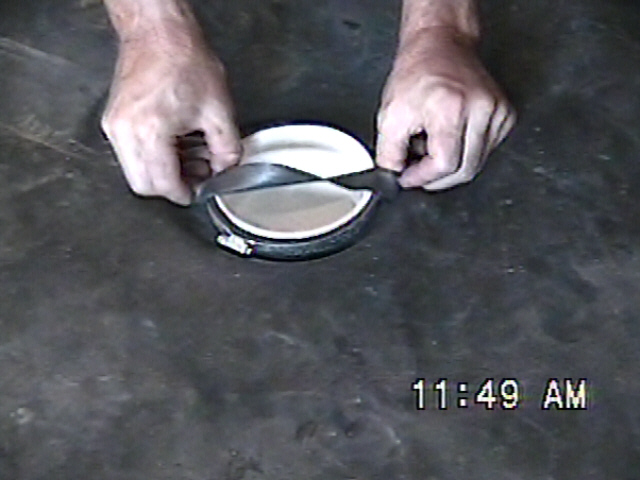
- Stretch the second washer piece of liner over the clamp. This will cover the sharp edges
and protect the fish. It will hold the excess tail of the clamp in close.
- All done. For extra protection, squeeze some silicone in to cover the screw-drive mechanism of the clamp.