|
Bickal Koi Farm: Koi House Blog The Beginning of the Koihouse |
|
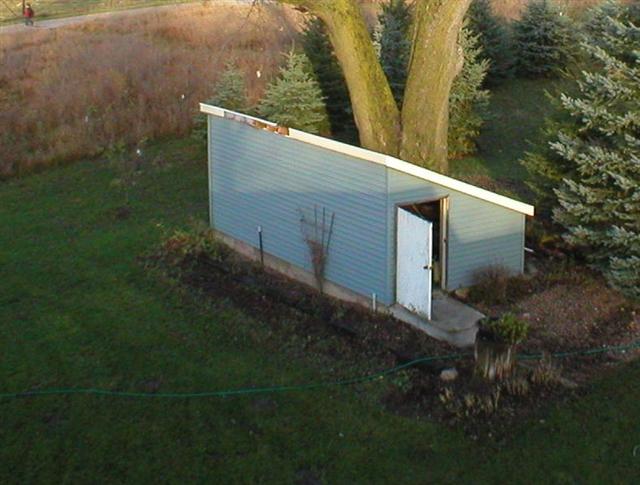
What prompted me to build a koihouse? Iowa winters are long and cold. I live in zone 4b. The water temperatures drop below 50F around mid October. The koi quit eating food, and don't start again until early April. Spending half the year under the ice, slowly freezing to death, and starving is not the environment koi "Thrive" in. My visit to Japan in October 2004 inspired me to build a koi house. At the time we kept all of my breeders in a 1200 gallon pond in the basement. All of our for sale koi were in a 500 gallon pond in the attached garage. The mosture from these two ponds was getting to be to much for my house and my wife. The koi house started out as a chicken coop built in 1937.  |
Sometime in 1993 I rebuilt the roof of the chicken coop and put on Blue Aluminum siding to match the house.
 |
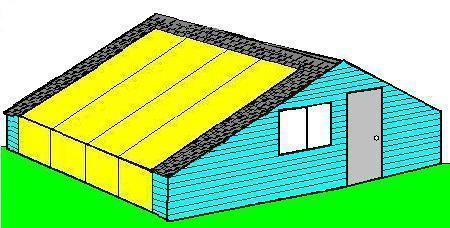
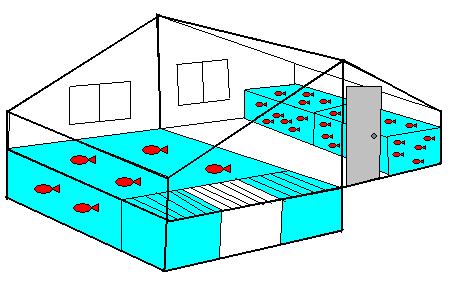
My koihouse design was a 8,000 gallon main indoor pond for the breeders, and several raised tanks for selling koi.
   |
|
Sep 3,2005 I started working on my koihouse. I had been waiting for the Tree guys to remove a 6' diameter soft maple from behind the shed before I could begin. ($900) The koihouse will be 12x20 and attached to my existing shed. Im aiming for a volume around 8,000 gallons. I started digging the foundation on Saturday September 3rd. Sunday I cleaned up the corners and area next to the building. There were tons of roots that went under the building and caused me alot of problems. The dirt was so dry and packed, I had to run to town and buy a pick-axe. Ahhh, that made digging easy... Monday I didnt get to do much because of a barbeque. Almost have the footings ready to pour cement. 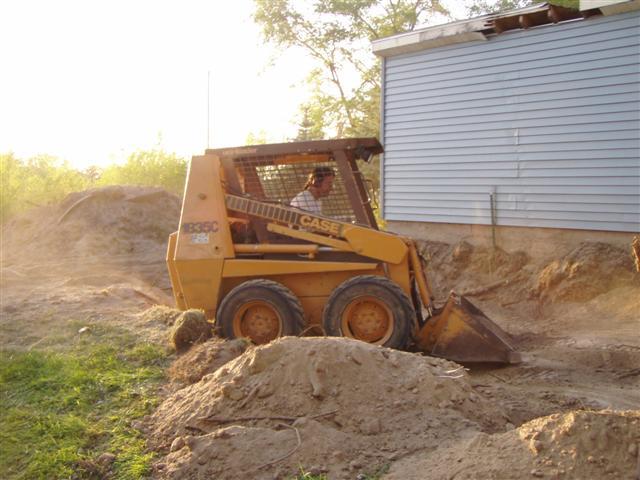 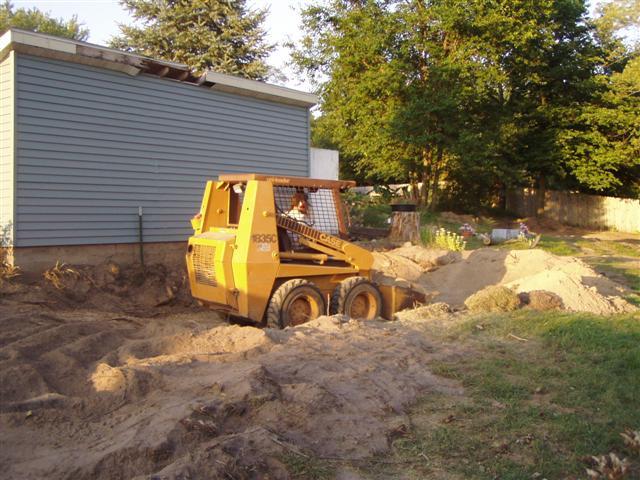 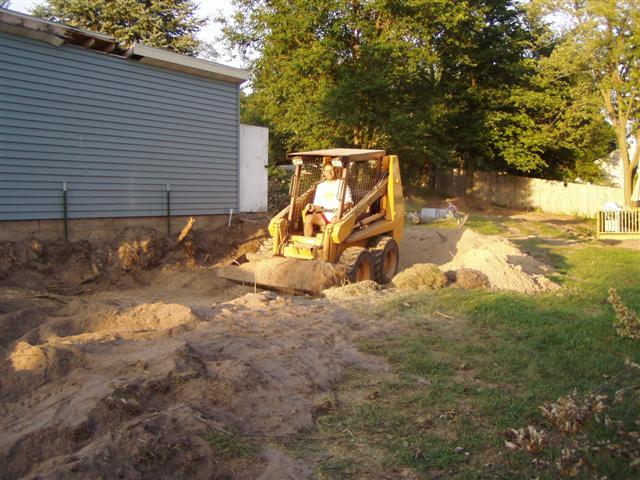 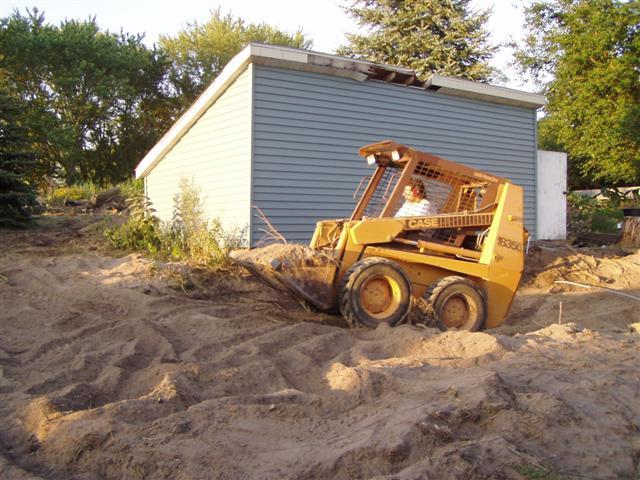 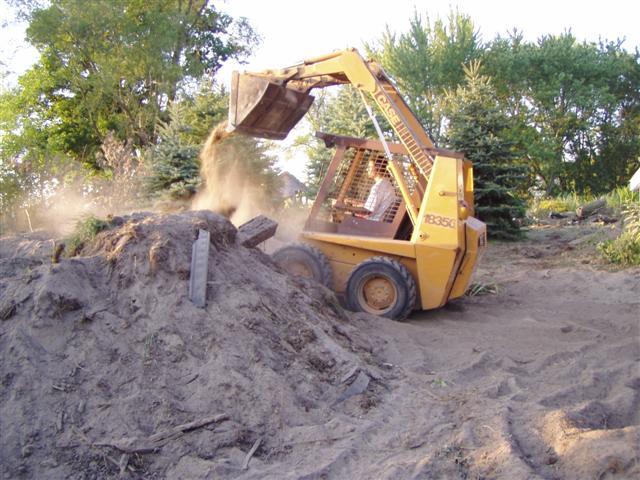 |
|
Sept 6, 2005 The end of Day 4 and IM BEAT. I poured cement footings today in the hot sun. I am still trying to get over bronchitis and it just about killed me. Luckily my neighbor (an ex cement truck driver) was there to help me. 3yards of concrete, 4" slump (4000psi mix). $275. The footings are 16" wide by 8" deep. I have lots of rebar in there. Spaced every 12". Should be plenty. Im lining the pools with rubber anyway, so cracks wont be a problem. 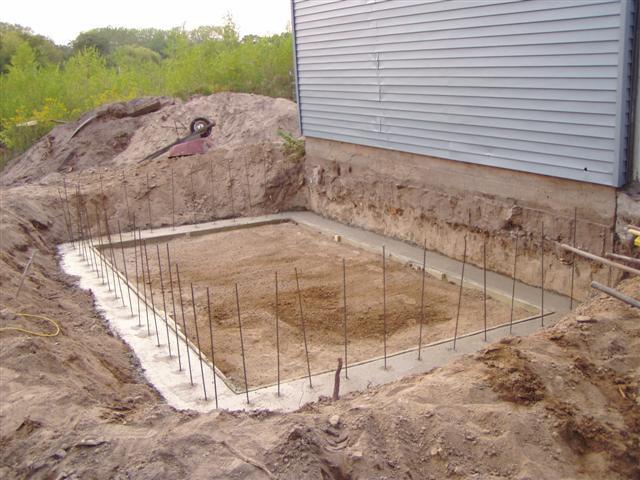 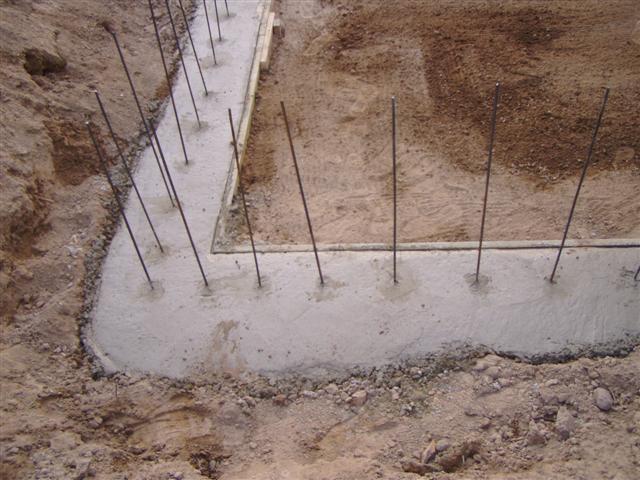 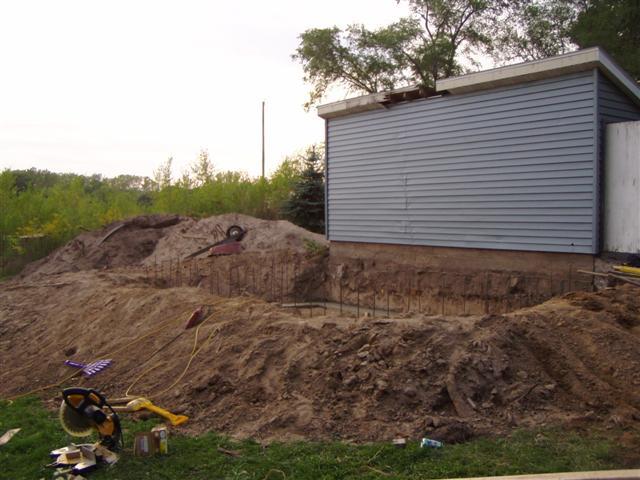 |
|
Sept 9, 2005 Well, lets start off with the picture of initial form up. Forms for the 20' walls were made from 2x6 boards 14' long overlapped and screwed at the seams. 1/2" Plywood covering that, everything screwed in. Holes were cut every 16" o.c. (middle and bottom) for the strapping material. In this picture you can see the internal forms completed and the rebar is wired. 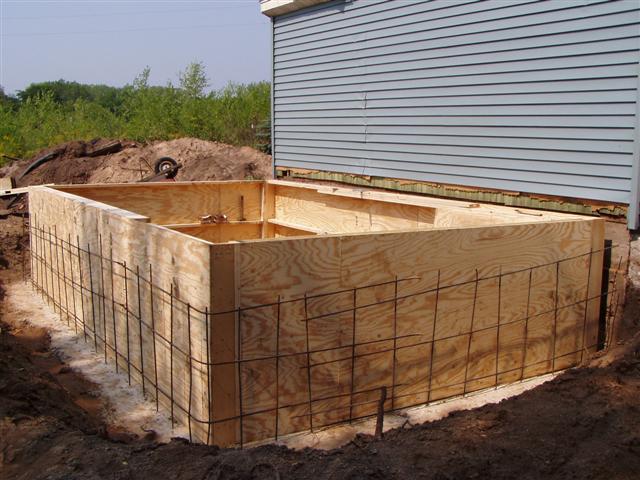 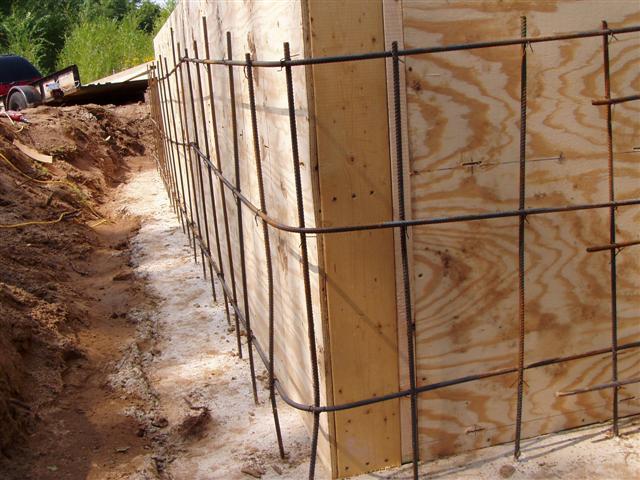 |
|
Sept 10, 2005 Well, we had a major blowout on the cement forms saturday Note to self: next time DONT take the cement contractors advice about using screws on the straps, use the pins that you had planned on Arrrrggggghhhh.... I wound up with a tank, albeit a pregnant looking one. It will be strong thats for sure, the outside wall is over a foot thick now. 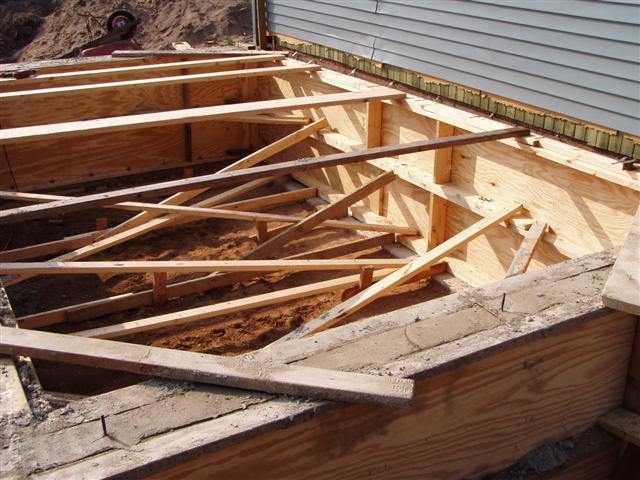 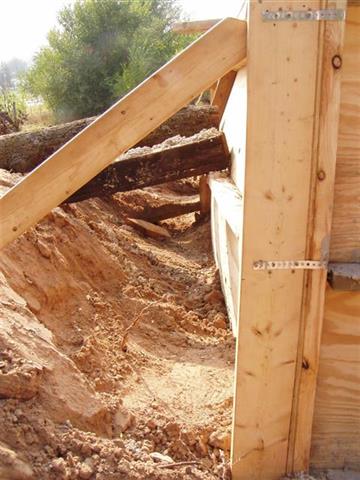 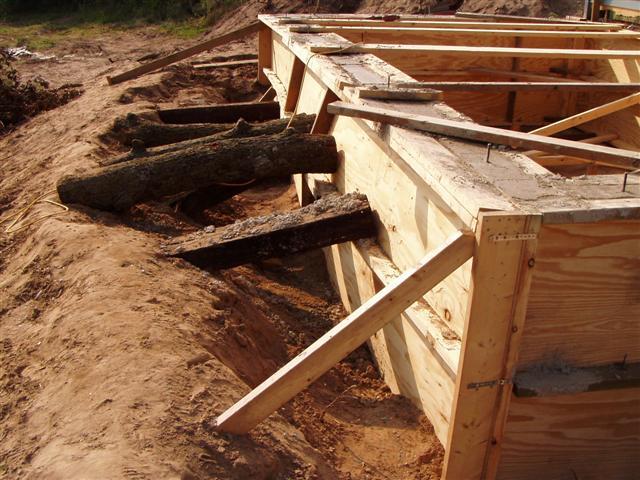 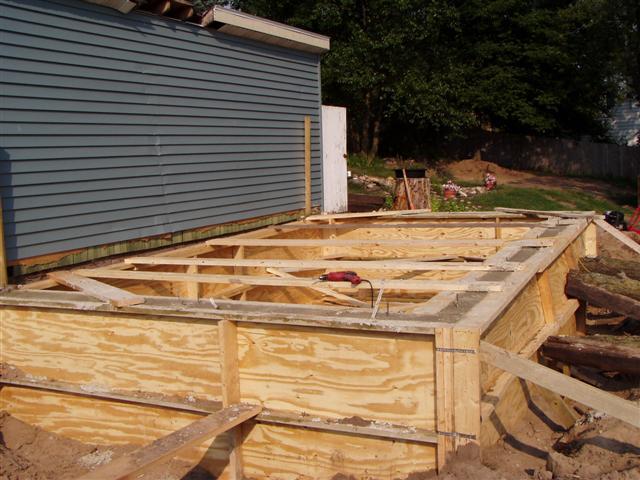 |
Sept 11, 2005 My Birthday Today, so I took the day off :) |
Sept 12, 2005 Here you can see the form removed and the nice bulging (pregnant) wall. Its unsightly, but with some creative landscaping it will be unnoticable in years to come. 100 years from now, someone will have a good laugh. Structurally its going to be a very strong wall. Should never crack and should hold back the 32 tons of water with no difficulties. Luckily the wall is square and level at the top which is the most important thing. The thing that bothers me the most is that I didn't follow my instints on this one. I relied on some-one elses opinion who was suppose to be an expert. I wanted this to be overly strong, and ended up being just the opposite. Before the cement was poured, everyone said the structure was very strong, and afterward, they changed their story pretty quick. So, time to move on. Whats next on this project: Ive still got to pour the back wall (we ran out of concrete). I'll do that sometime this week and get the other forms removed. Then I'll get my drain to sewar lines put in, and backfill the dirt around the structure. Then its on to roofing. 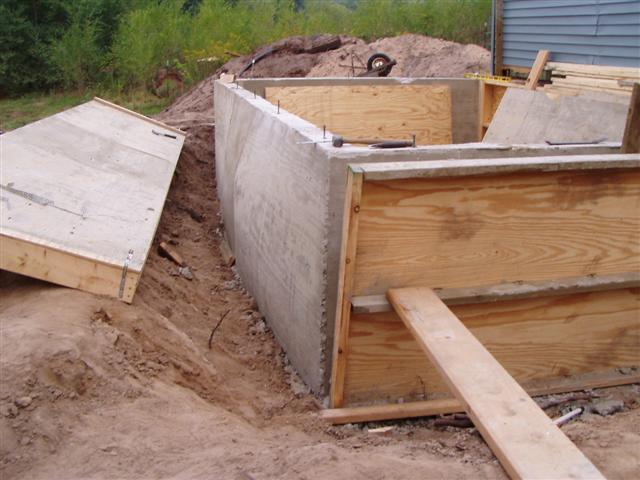 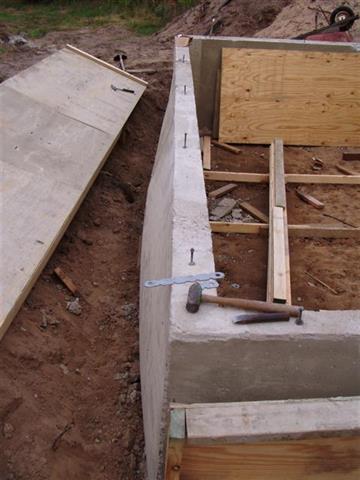 |
Sept 20, 2005 Ive been sick. All I managed to get done was the trench under the foundation wall for my utility and drain lines. Gotta start framing the roof next. Here's the inspector checking the hole... 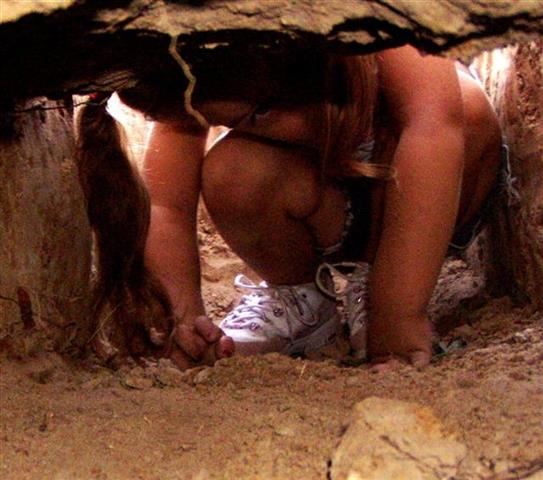 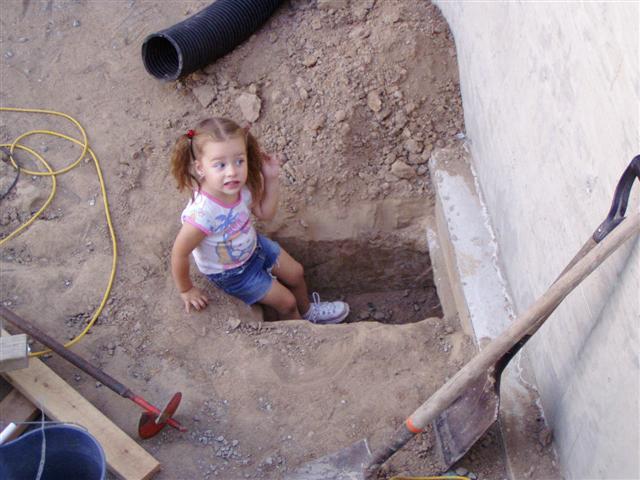 |
 Continue to Page 2