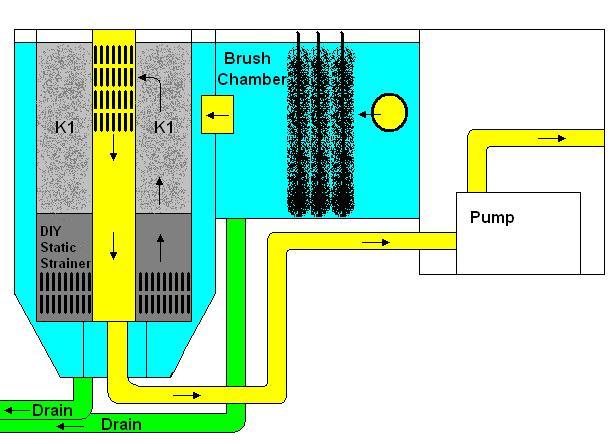
This is my DIY version of a mechanical filter, similar to the unit which fits inside a Nexus. This filter is goes inside a settling chamber. Its like a giant intake strainer for the pump to draw its water from. It it an alternate method to using a microstrainer. The pump draws The filter is filled about half full with Kaldness (K1) filter material. The principal of operation is that the Kaldness media in its static state traps muck. To clean the filter you add airiation (bubbles) to the media until it reaches a broil (resembles boiling water). Then the chamber that the filter is in is drained completely and refilled. The filter in the below instructions was built as a retro-fit for Roger Thompson's pond in Springville Iowa. This filter is also connected to a pre-filter chamber of black night filter brushes.
Design
Materials
| Item | Qty | Description | Size | Cost |
|---|---|---|---|---|
| A | 1 | Barrel | 55 gallon | $5 |
| B | 1 | PVC Pipe | 6" Sewar, Schedule 20, 3' length | $5 |
| C | 2 | PVC Cap | 6" Sewar, Schedule 20 | $5 |
| D | 1 | PVC Union | 2" Schedule 40 | $1 |
| E | 1 | PVC Pipe | 2" Schedule 40, 4" length | $1 |
| F | 2 | Kaldness Filter Material | Cubic Foot | $80 |
| G | 1 | Tubing | 10' | $3 |
| Total | $100 | |||
Assembly
-
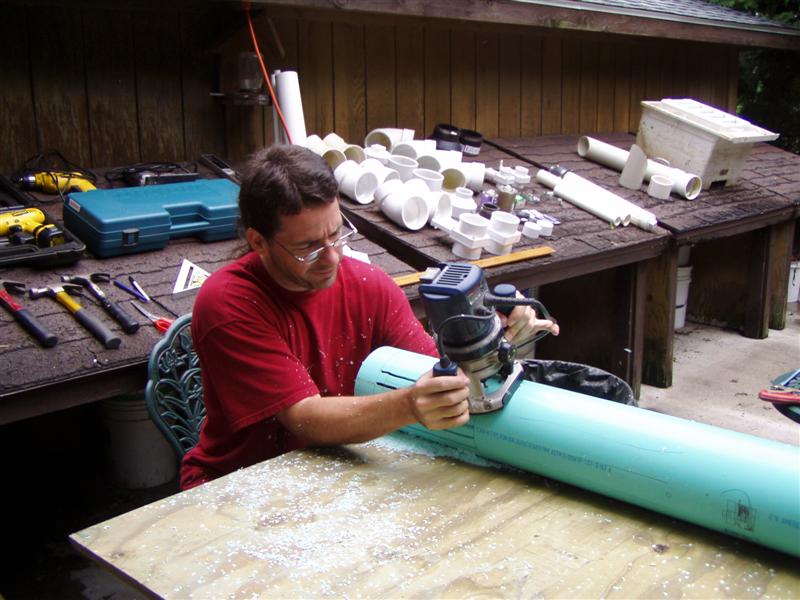
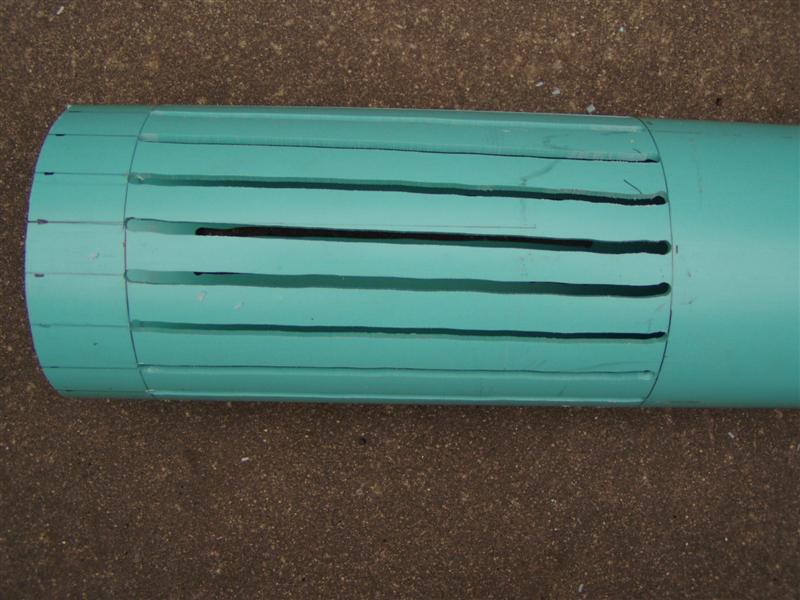
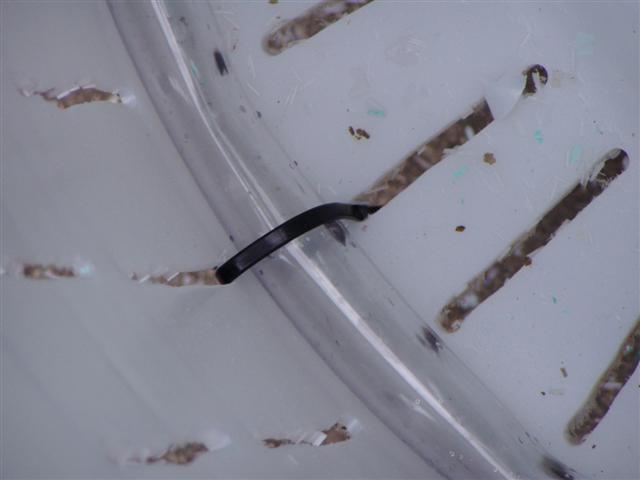
I used my router to cut grooves in the 6" center pipe. The grooves are 10" long and spaced 1" apart.
Next time, I will do two 5" grooves with a gap in between for strength.
The pipe was clamped to the table and my assistant held the other side.

-
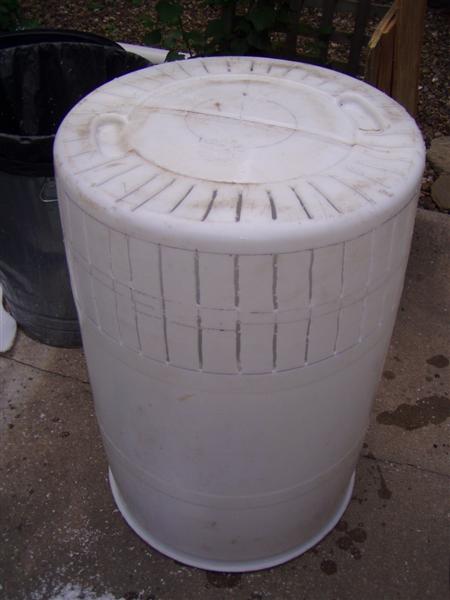
Following the same procedure, we cut similar grooves in the 55 gallon barrel.
These grooves were spaced 2" apart. We also cut grooves on the outside of the bottom.

-
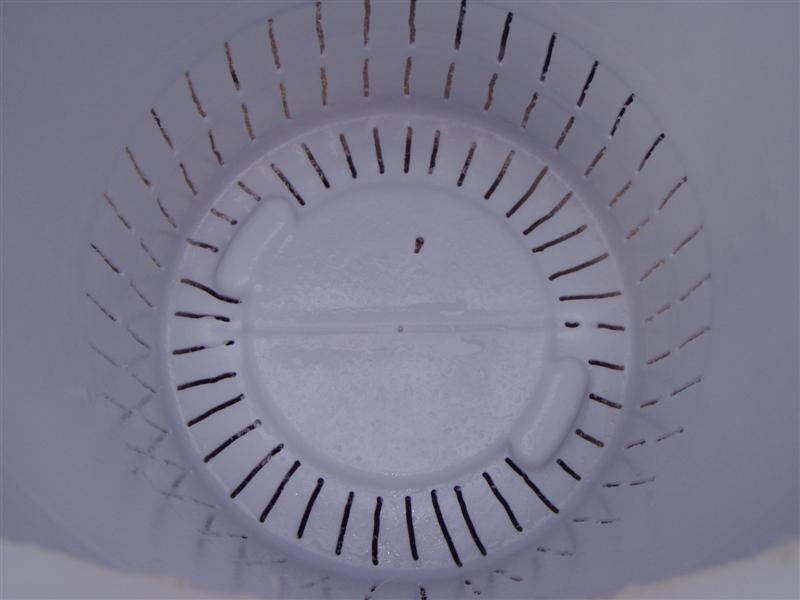
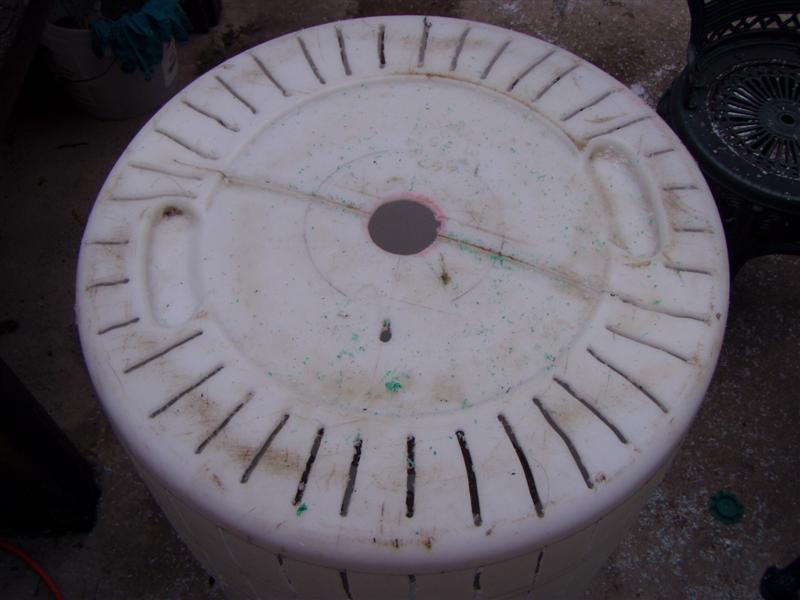
Next, the lid of the barrel was cut out, with a center stile that will hold the 6" pipe in place.

-
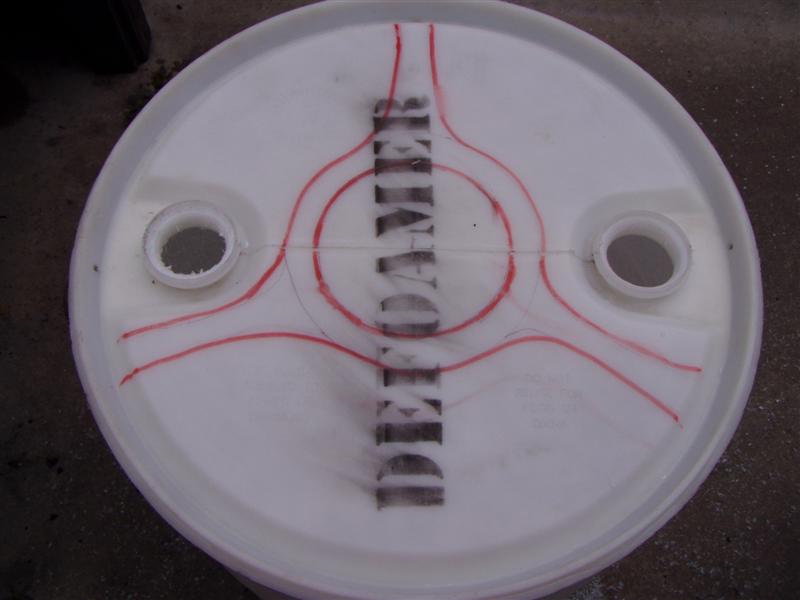
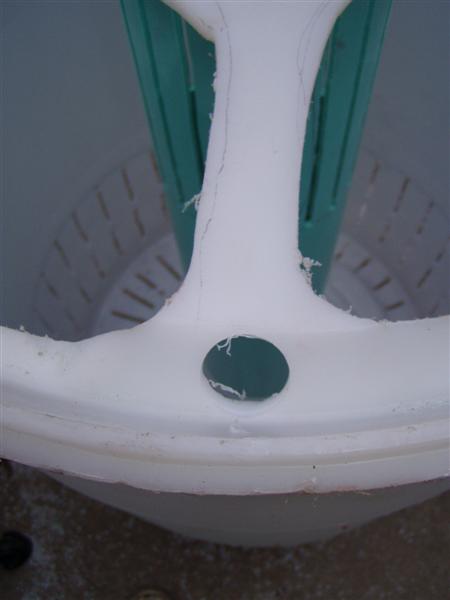
Next a hole was cut in the bottom of the barrel,
the same diameter as 2" pipe.
- A hole was also cut in a 6" cap.

-
A small chunk of PVC pipe was glued to a union and the cap was
inserted and pushed through the bottom of the barrel as shown.
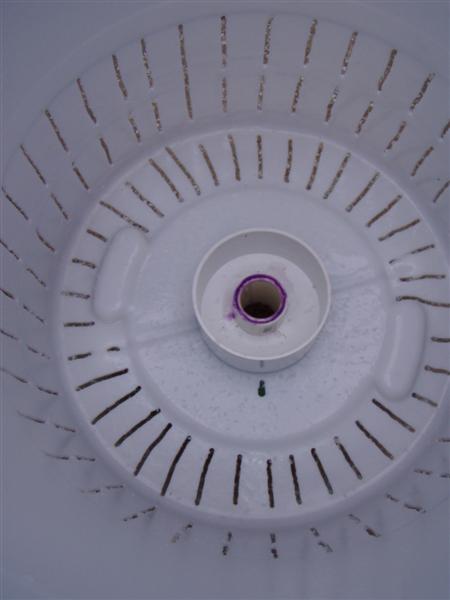
- A 2" union was glued to the outside edge of the barrel.

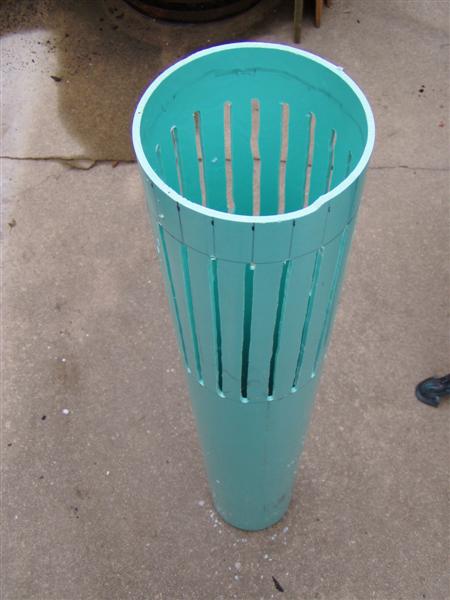
- The 6" pipe with slots was inserted and pushed into place. Slots up.

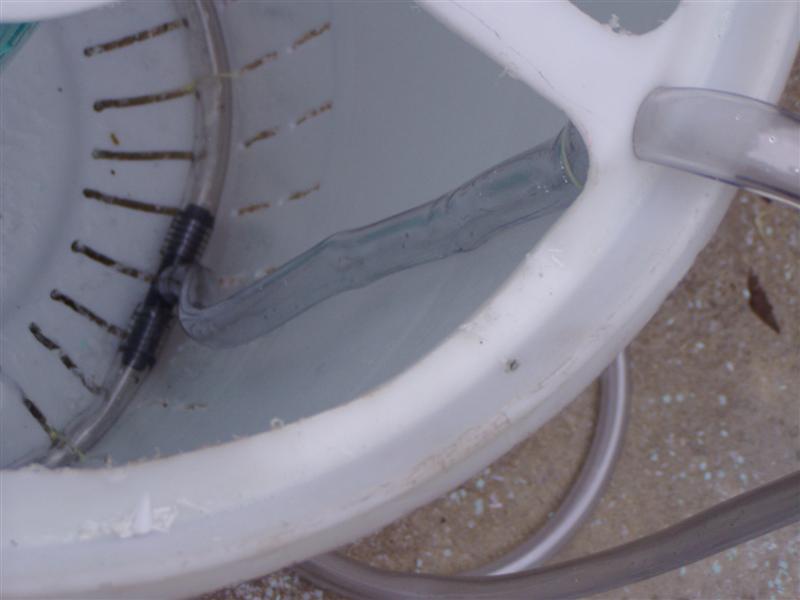
- A 1" hole was drilled to hold the airline in place.
Holes were drilled in the airline pipe 4" apart.
The airline was put in the pond and tested for flow before installing in the unit.
Zip ties were used to hold the airline in place.
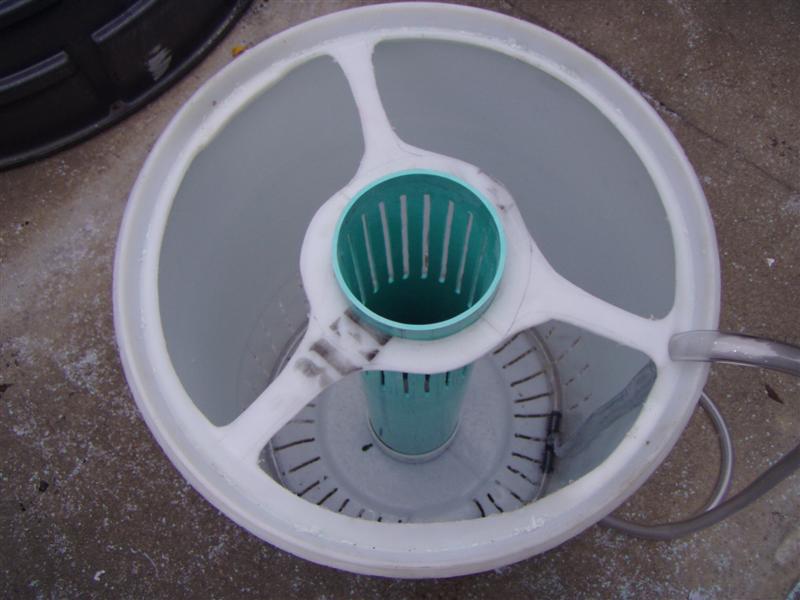
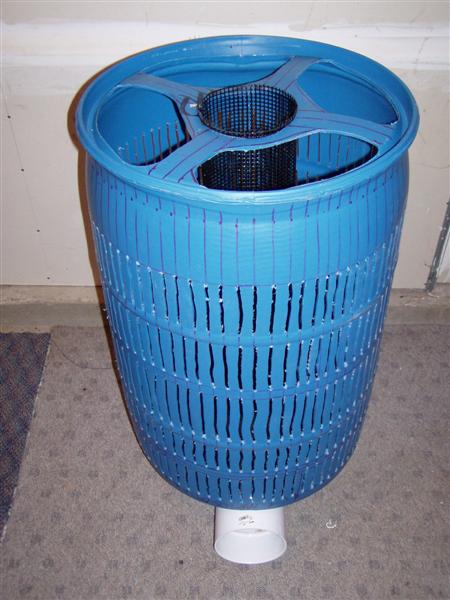
- The finished unit and ready to be installed and filled with Kaldness.
-
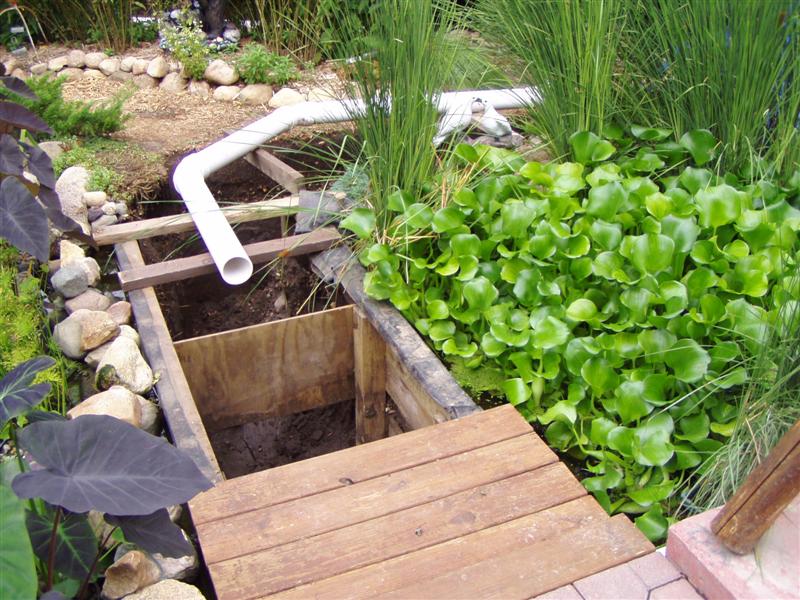
The chamber will go in this location.
The chamber on the right (with the water hyacinths) is a 500 gallon settling chamber.
Water will go from the bottom drains, to the settling chamber,
to a brush chamber, to the Chamber with the DIY Static.
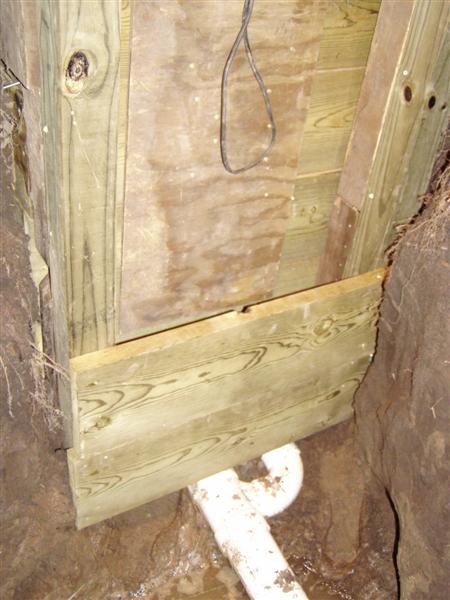
- The filter chambers are framed in, and read for rubber. The bottom drain piping runs under the brush chamber. This is the reason why the DIY Static chamber is on the far end. We didnt have the depth to put it closer.
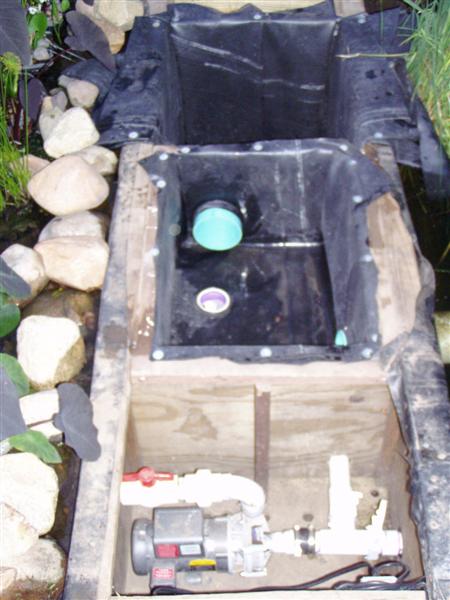
The pump is connected to 2 draw points. The left fork goes to the bottom of the DIY Static chamber. The right fork goes to the settling chamber. We didnt have a Jandy valve, so we just used 2 gate valves. During cleaning of the DIY Static, the valve can be closed, and the pump can continue to run drawing water directly from the settling chamber.
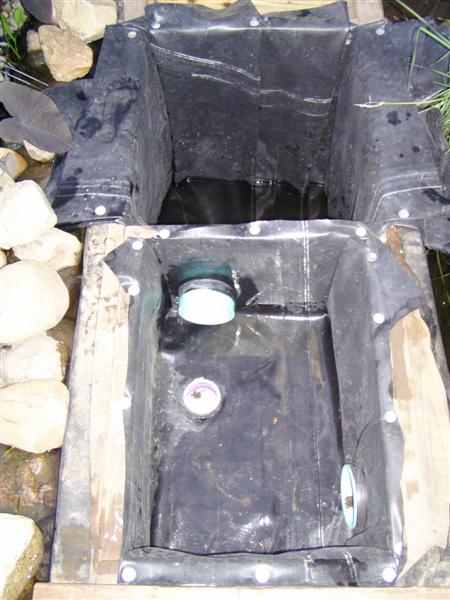
The settling chamber is connected to the brush chamber via 6" pipe. During cleaning a 6" cap will be used to close off the flow. Another 6" pipe is used to connect the brush chamber to the DIY Static chamber.
In the bottom picture is the DIY Static chamber. The center line is a 2" pipe which goes to the pump. The other line is a 3" line which goes to drain.


- The new filter is connected to the large settling chamber via a 6" pipe. The two 4" pipes in the picture come from the bottom drains of the pond.

- The 3" gate valves. One for draining the brush chamber, one for draining the DIY Static chamber.
The drains will allow for complete drainage of the chambers.
My DIY extension handles were added to the valves to allow them to be opened easily from ground level.
The valves are low enough to be protected from Iowa Frost depth.


- The rubber is installed in both chambers.
The liner for the DIY Static chamber was 9'x9'.
It took a little work to get the pleats right for the hospital corners,
but I was very pleased how the folds worked out.

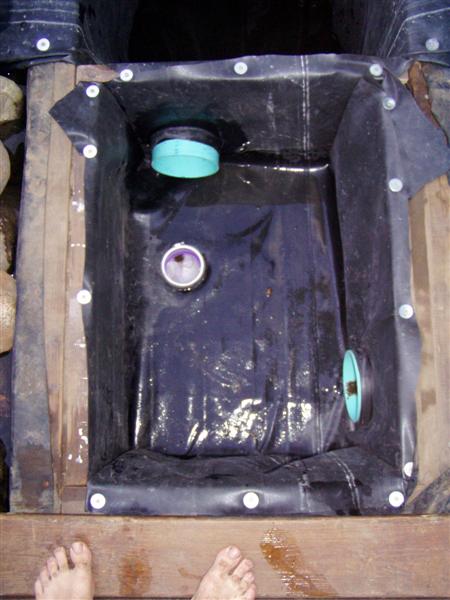
- The chambers are filled with water. Ever see how much flow comes through a 6" pipe.... WOW


-
The brushes are installed.

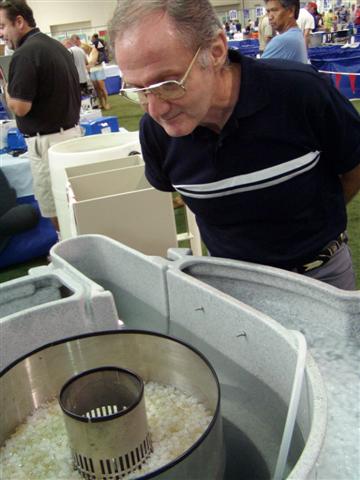
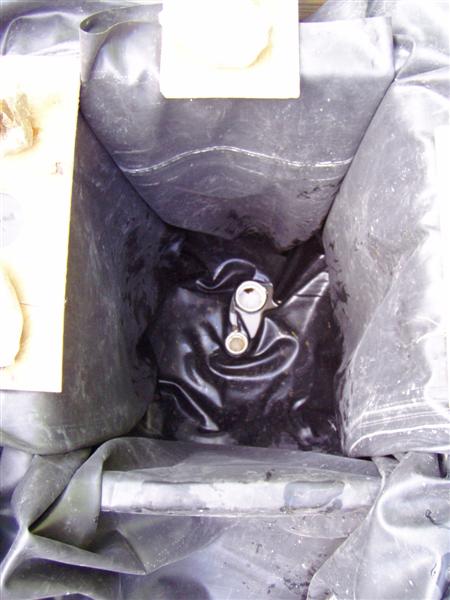
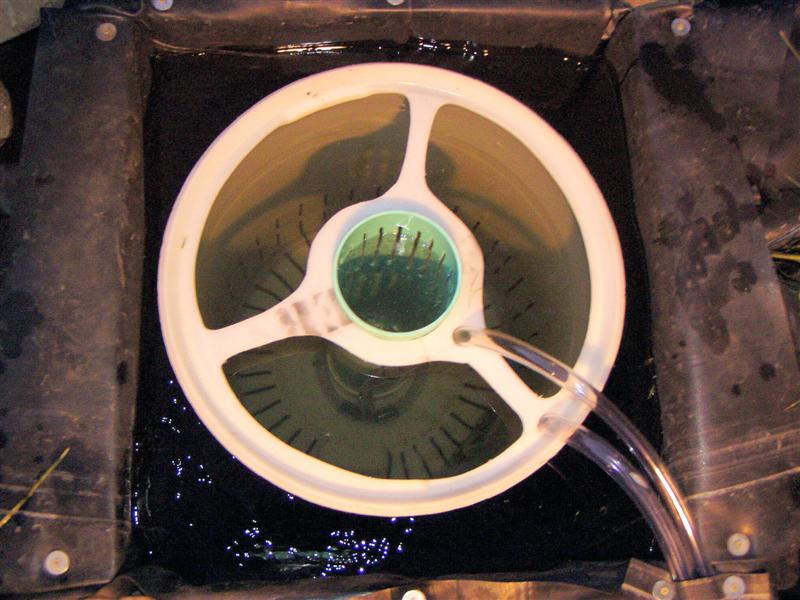
- The barrel is installed in the settling chamber. Looking down through the center chamber,
I was able to thread the needle so to speak to insert the 2" line comming out of the bottom of
the barrel into the opening in the bottom of the chamber.
Flow was turned on and tested the flow through the unit.
The water enters through the top left. It hits the barrel and causes the water to
bounce and vortex around the barrel. By the time the water dissapates down, it flows
pretty evenly through the slots in the bottom of the barrel.
This chamber is 32" square. Ideally I would have liked to have a 36" chamber,
but I think that there is ample space around the chamber to allow for unrestricted flow.
I estimate that this chamber holds around 180 gallons.

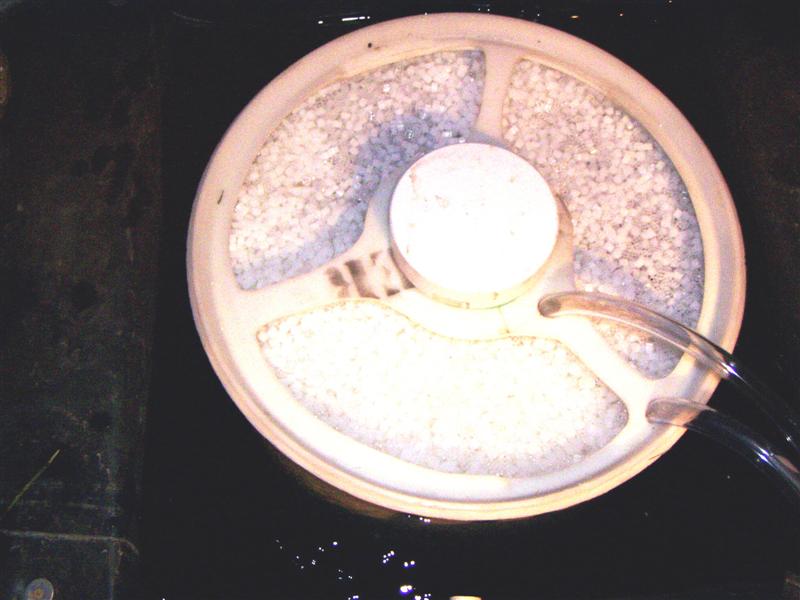
- Around 5 gallons of K1 is poured into the chamber.
The end cap is put over the center chamber to keep any K1 out.
We ran some initial tests of the air backwash, but were dissapointed
in the distribution of the air. The farthest end of the tube did not deliver enough air.
The K1 all bunched up on that side of the barrel. So some of the holes closest to where
the air comes in will need to be closed off to get even distribution of the air.

I have also constructed a second unit which is for higher flow rates (8,000 gph). The outlet pipe on this unit is 6". This unit was installed on my greenhouse pond.


© Copyright 2004 Greg S. Bickal. All Rights Reserved.