| DIY Series: De-icer | ||||||||||||||||||||||||||||||||||||||||||||
|
Why do you need a De-Icer ? In Northern Climates (Zone 1 through 5), our ponds can be covered with ice from December to mid-march. This ice can be as thick as 8 inches. The ice traps toxic gases and doesnt allow the exchange of oxygen to occur. If a hole is not left open in the ice, your fish could suffocate and die. Leaving a hole open is no gaurentee of survival but every little bit helps! |
||||||||||||||||||||||||||||||||||||||||||||
|
How does the De-Icer work ? The Deicer uses the heat from two standard 25 watt light bulbs to warm the air inside the unit. The warm air keeps a hole open in the ice. The black color absorbs sunlight during the day, thus an additional thermal gain. Air takes less BTU to heat than water, so the unit is more efficient than a stock tank heater (which typically draws between 1000 and 1500 watts). This effeciency can add up to signficant savings over the winter months. Here's the cost comparison:
Try the cacluation yourself using my on-line calculator |
||||||||||||||||||||||||||||||||||||||||||||
I started out my first year ponding like most everyone else. The warm summer flew by in an instant and winter was
upon me before I knew it. As the first ice crystals formed on my pond, I began to worry about my precious fish below
the ice. There wasen't alot of information about overwintering ponds back in those days (mid 1990's), I heard the
same methodical sound byte from everyone "lower your lily plants and keep a hole in the ice for the bad gas to escape."
So I set off to do just that. My first attempt, was the more popular "put your pump just below the pond surface".
As you will see in the picture that kept a hole open (for a few days). Eventually the water kept freezing around
the lip of the hole until the entire surface was one big bubble that looked like a coffee pot percolating below.

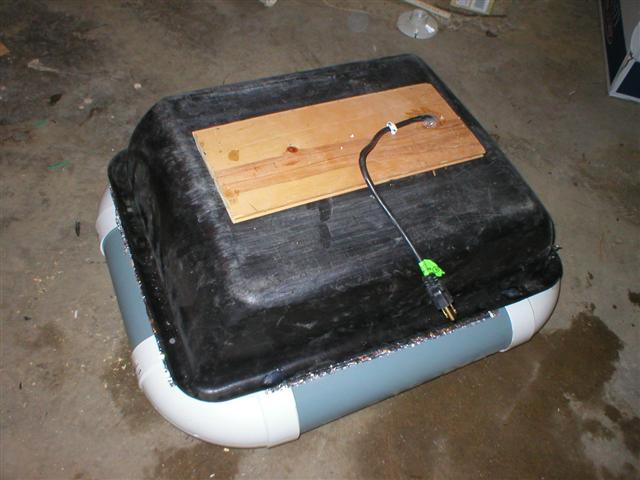
The next idea that I heard from everyone was to use a cattle tank heater. They came in 1000 or 1500 watts and only cost like $60 a month to run. Well being the cheapskate that I am, I wasn't about to spend that kind of money. My next attempt was something that I heard about at a pond club meeting. It was about a device made from an inflated car innertube that floated on the water. Attached to the top of the innertube was a piece of plywood. Hanging inside this floating contrapion was a lightbulb. The concept was, that the light bulb would heat the air and that would keep a hole open in the ice. Being the skeptic that I am, I was in disbelief that a light bulb would keep a hole in ice that can get up to 8" thick, I just had to try this out. That night I set up a plant container with a lightbulb inside. I uncovered a spot on the ice and set it in place. 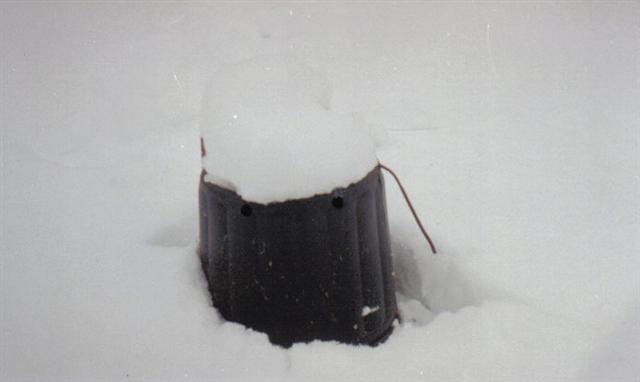 I let this unit set on the pond for 24 hours. That night it had snowed a few inches. When I went out to check the unit it had snow setting on top. I thought to myself, no way would this thing have melted a hole in the ice, if it wasn't even strong enough to melt the snow from the top of itself. I lifted the unit up, and to my utter disbelief, it had melted a hole in the ice, the entire size of the container. I was amazed. Luckily it had not melted too big of hole, or it would have fallen in the water and could have electrocuted my fish. 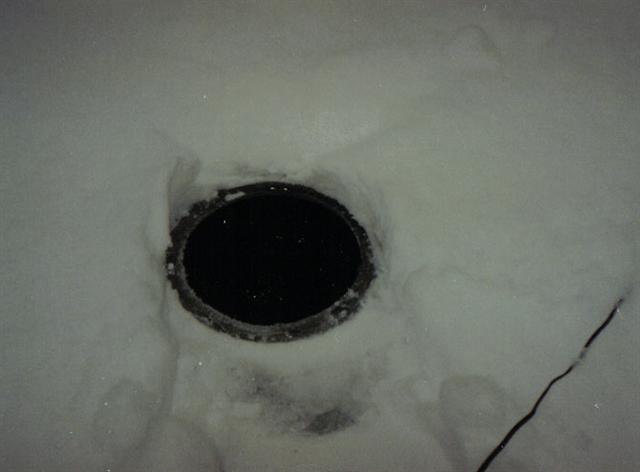 Since the science was proven correct, I set out to design a unit of my own. I wanted something strong that could survive for years without need of repair. Car innertubes were a difficult item to come by and I worried about possible deflation, so I searched for an alternative. PVC pipe was lightweight and very durable, and held up well under the cold, and was available everywhere, So I built a floating framework out of that. Then I Attached a black cement mixing tub to the top and put two 25 watt lightbulbs inside. I used hot water to open a hole in the ice, big enough to place the unit, and let it sit. 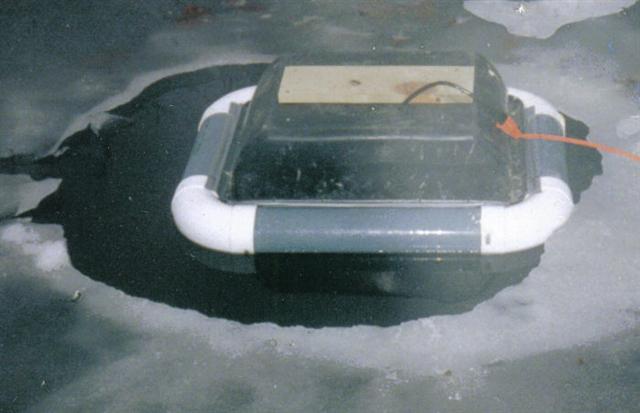 On the warmer days, the deicer would blow around a little bit, and the hole would get larger. The colder it got the deicer would get frozen into place. I checked the unit every day, the ice was always melted underneath, and at night you could see a glow from where the unit lit up the ice and snow from underneath. It even looked pretty. Well winter got colder and colder and the unit kept working, even on nights when it got -20 below zero. During the day, the black tub would help absorb heat from the sun making the unit more efficient. Spring finally came and the ice melted from the pond. All of my goldfish had survived the winter and the deicer was a success. I showed my deicer to several people in my pond club, they thought it was a awsome. The follow fall, many people from the Eastern Iowa Pond Society got together and built about 12 of the "Bickal Deicers". I'm pictured in the lower left. 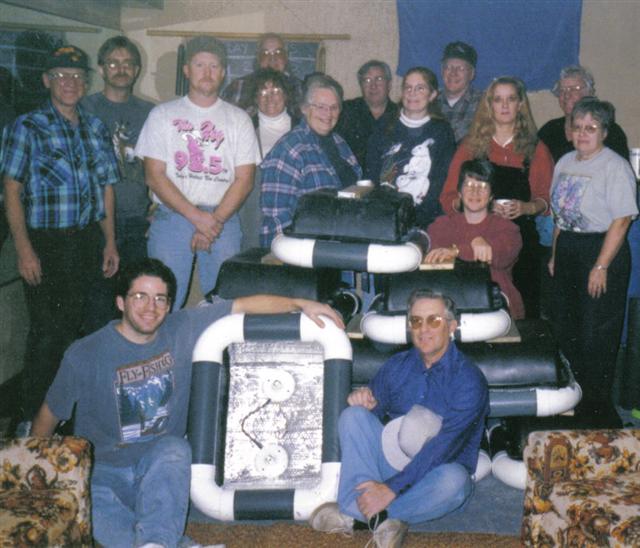 |
||||||||||||||||||||||||||||||||||||||||||||
|
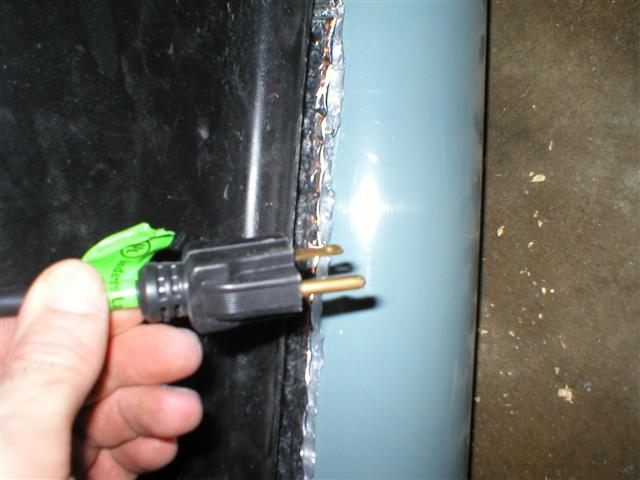
How to build a De-icer Disclaimer There is no guarantee that this deicer will keep your fish alive. Only that it will keep a hole open in the ice. I have learned over many years of raising koi that they do not survive well when water temperatures drop below 40 degrees for extended periods. It is my recommendation that you do not allow koi to go through such harsh conditions. My recommendations for keeping koi, is that they are kept in a water temperature which never drops below 50 degrees Farenheit. This device is not UL listed, and can pose a health risk to your fish. It should be plugged into a GFI Outlet, and properly grounded at all times. |
||||||||||||||||||||||||||||||||||||||||||||
|
Design Features The unit is designed with 2 bulbs to provide redundancy and will still work if one bulb burns out. Proven effective up to 15 degrees below zero with a 45 below zero wind chill factor at the recommended wattage. Higher wattage bulbs may be used, but are not recommended. The floatation ring is filled with styrafoam to prevent sinking in case the base were to get ruptured. Bulbs may burst if they come in contact with cold water. Deicer should be plugged into a Ground Fault Protection Outlet (GFI). Snow, Debris, and small animals should be removed from the top of the de-icer to pre-vent sinkage. The unit is designed to support its own weight only !!! |
||||||||||||||||||||||||||||||||||||||||||||
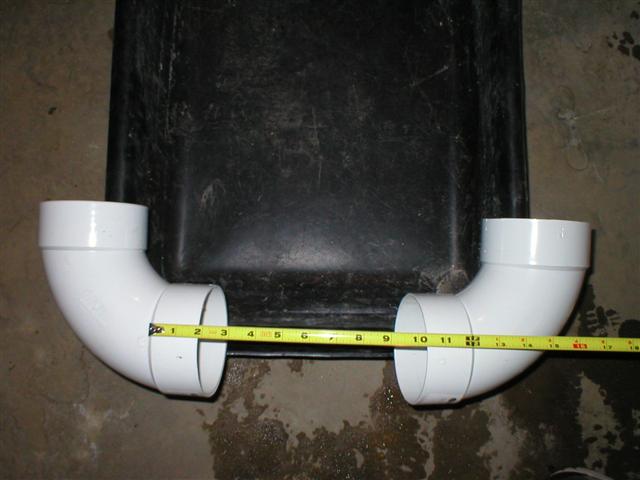
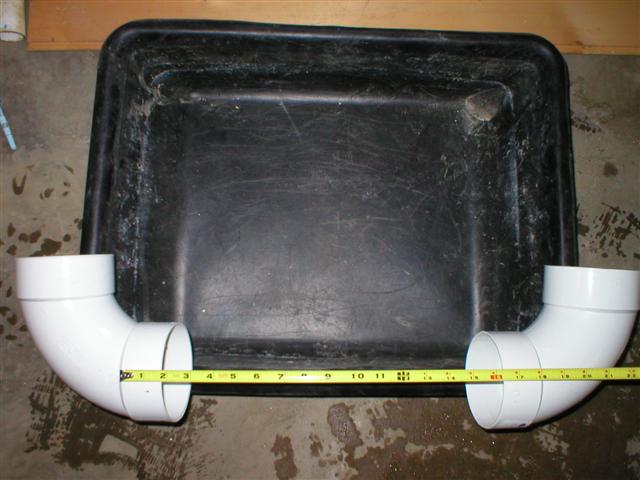
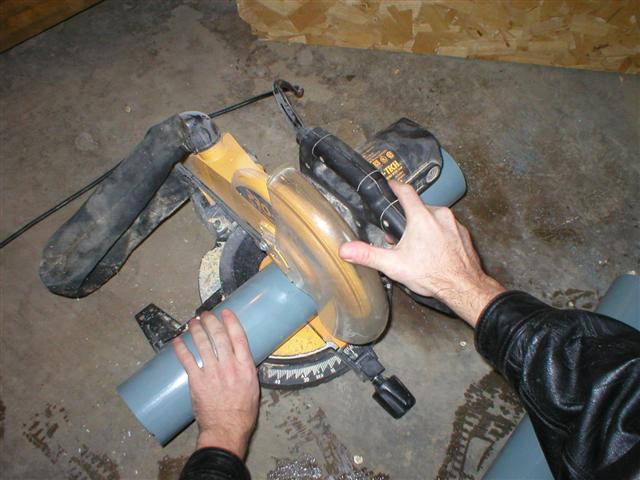
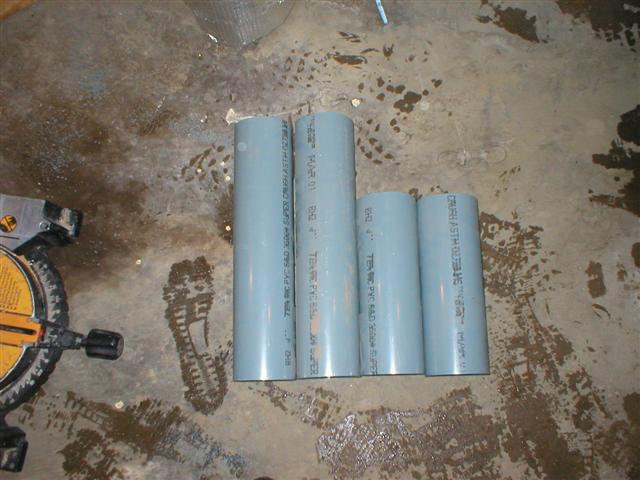
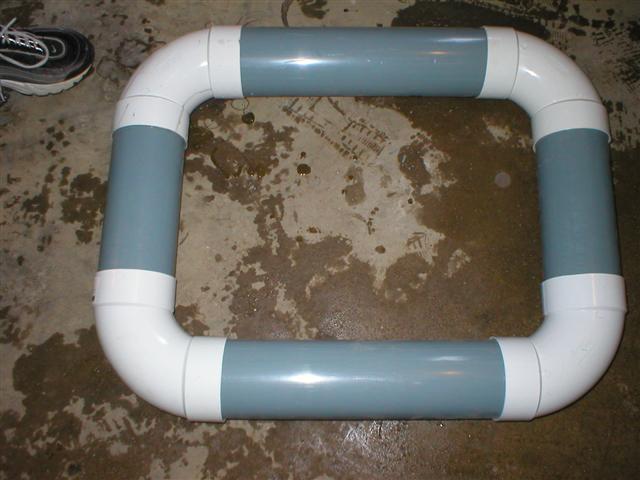
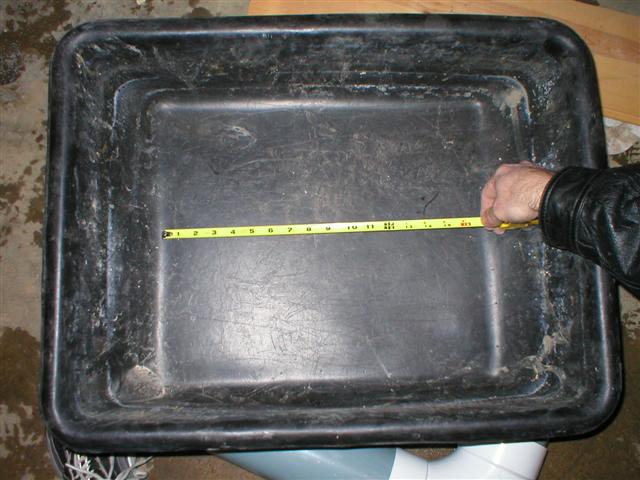
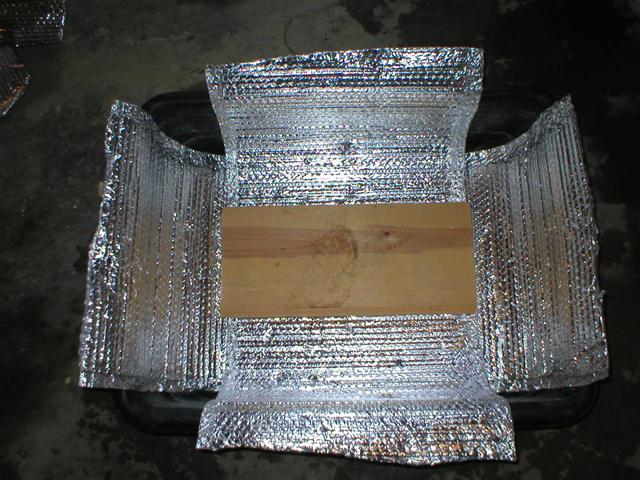
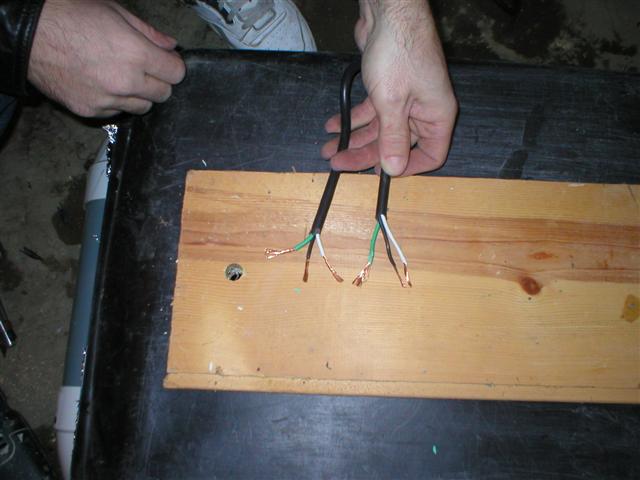
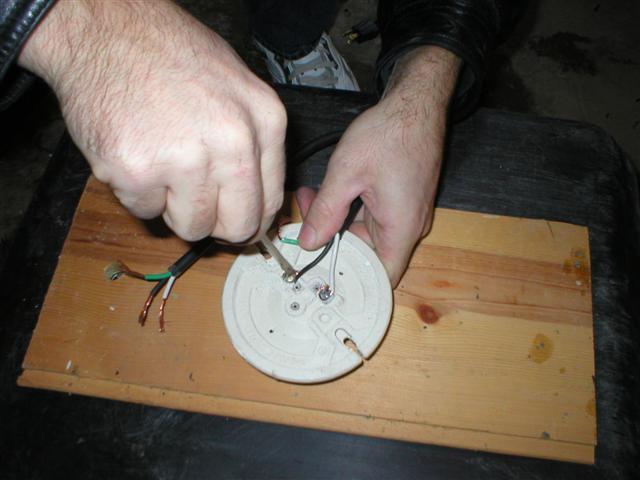
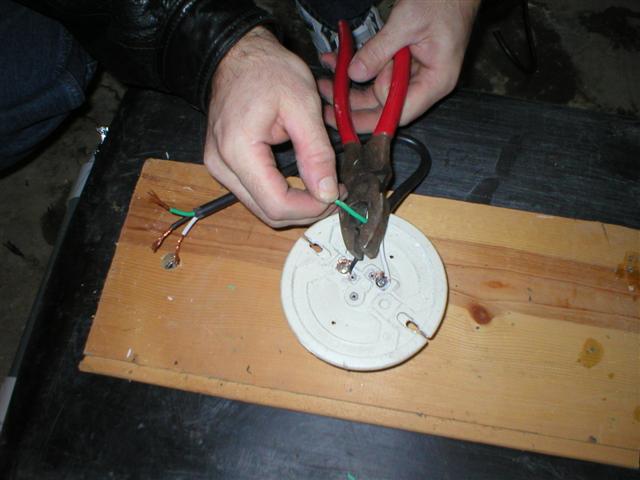
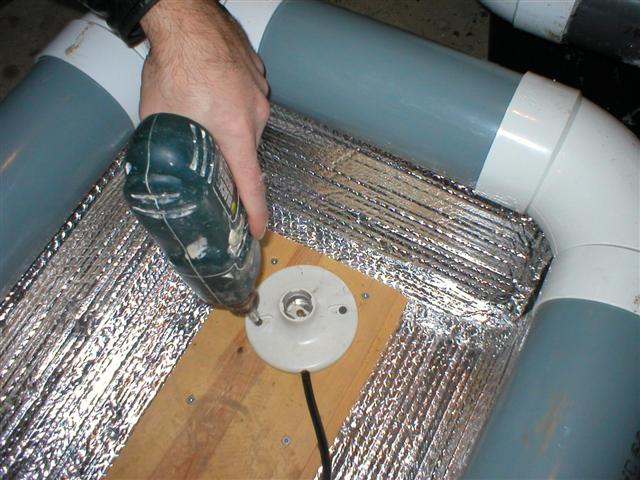
Materials Needed
|
||||||||||||||||||||||||||||||||||||||||||||
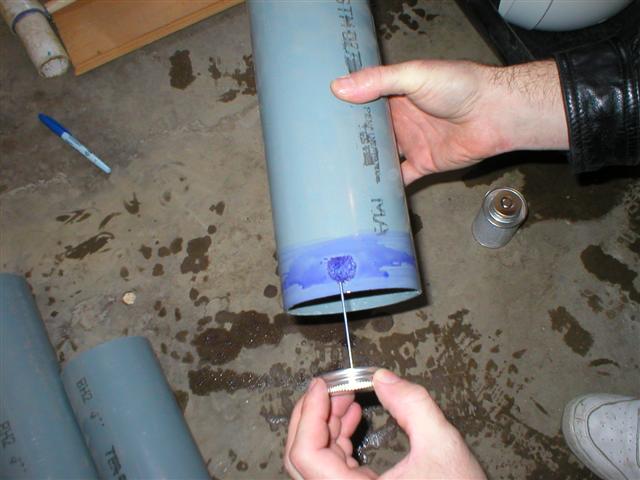
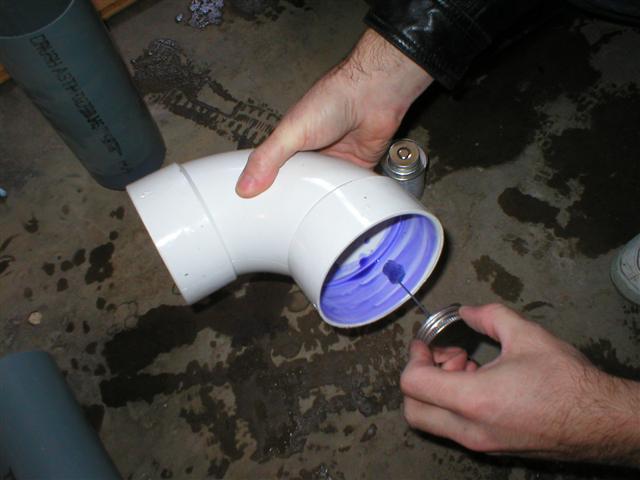
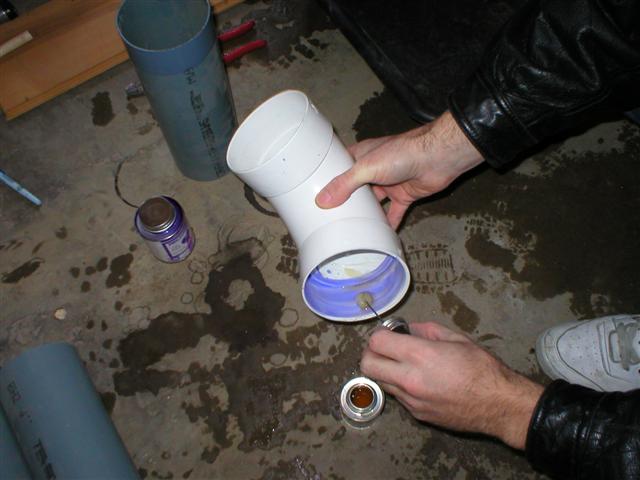
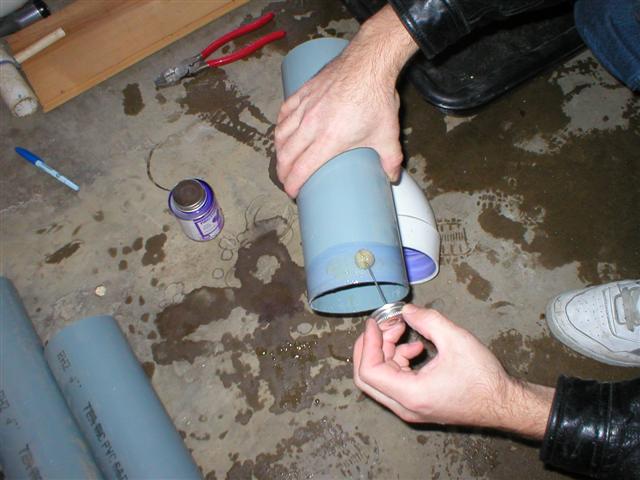
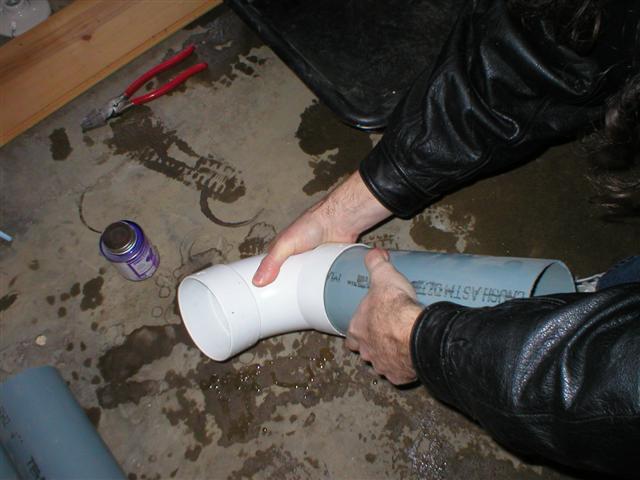
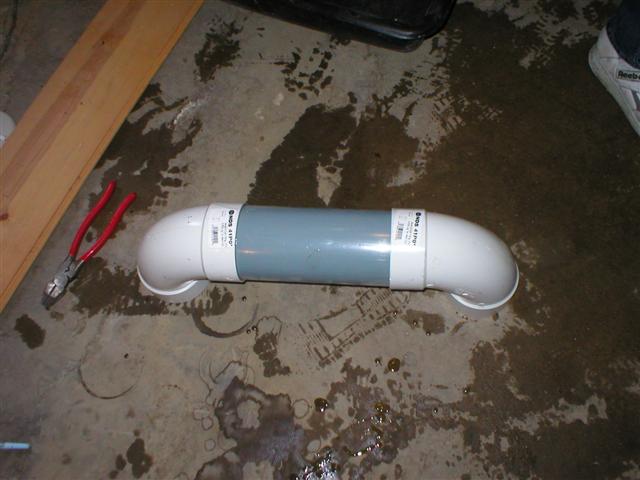
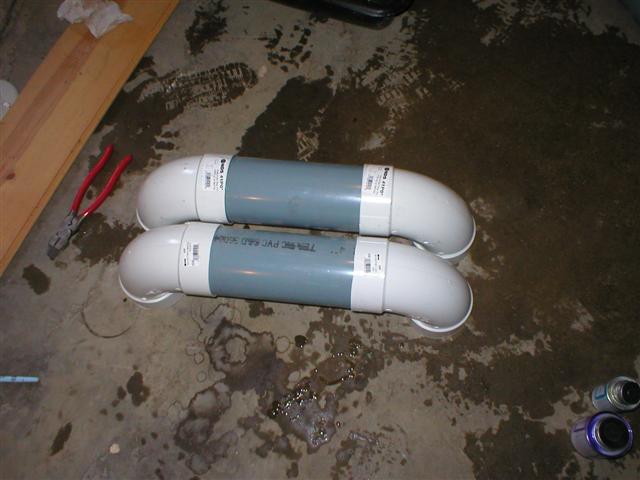
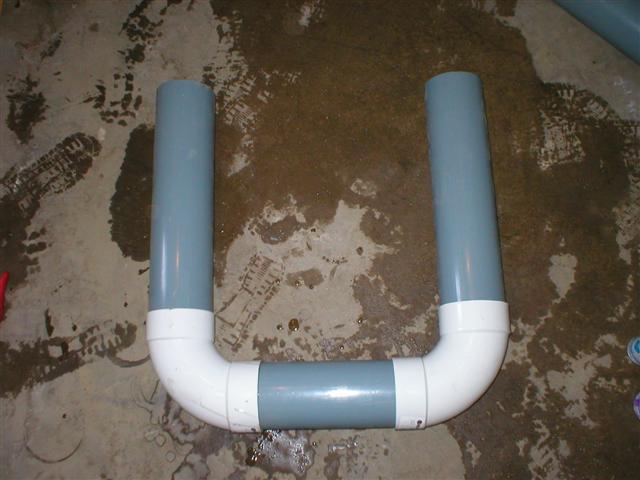
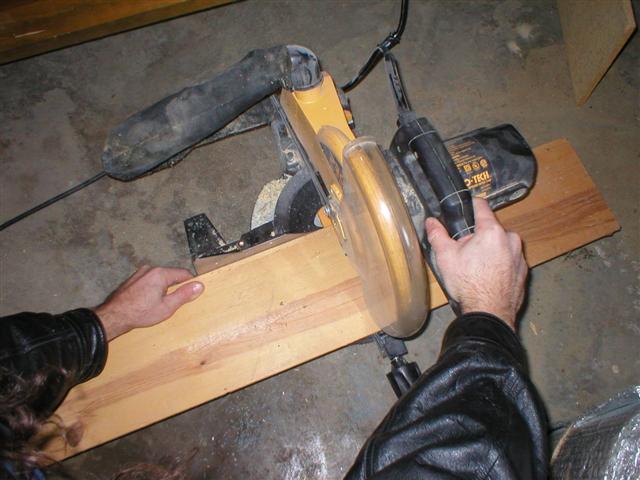
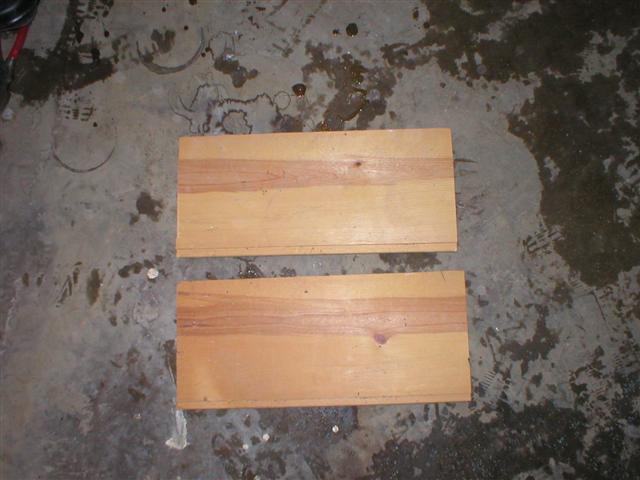
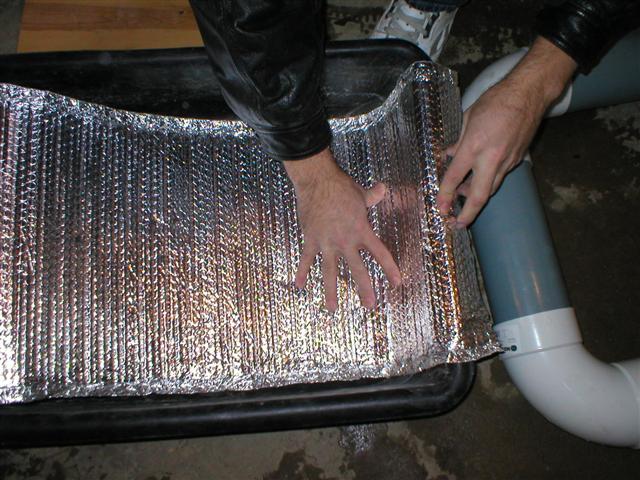
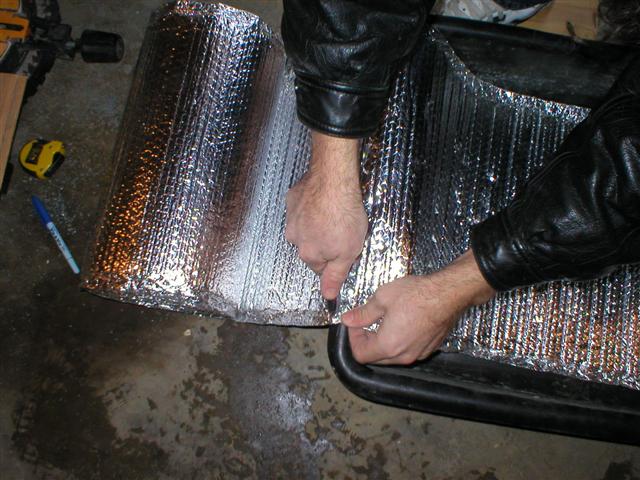
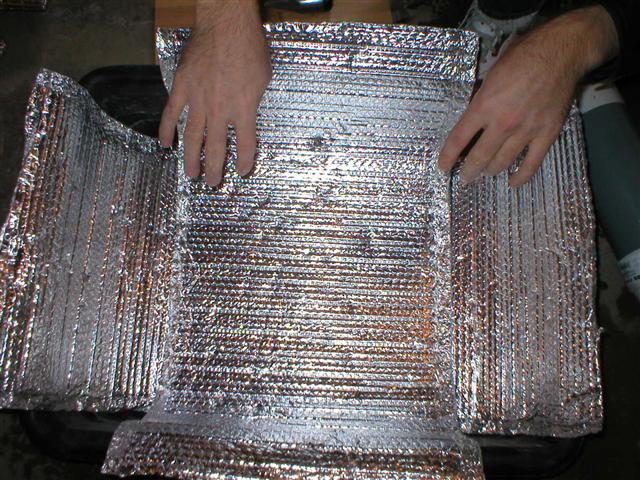
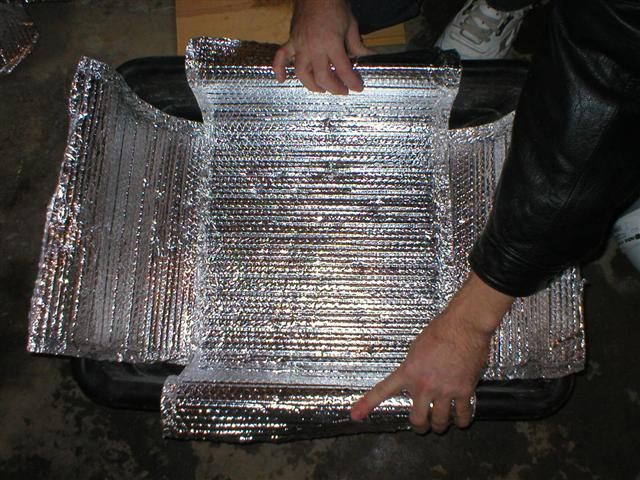
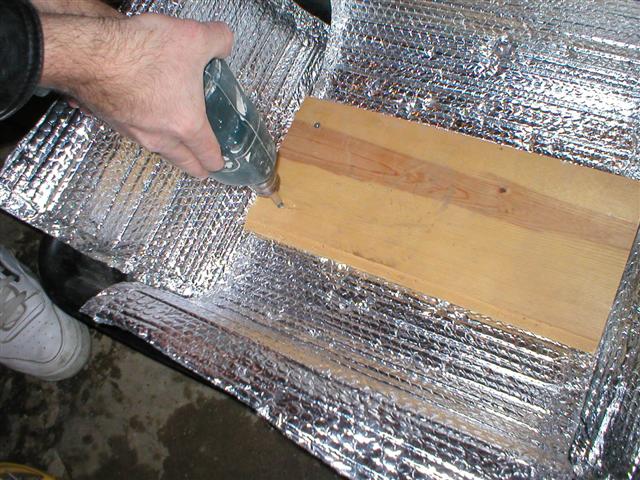
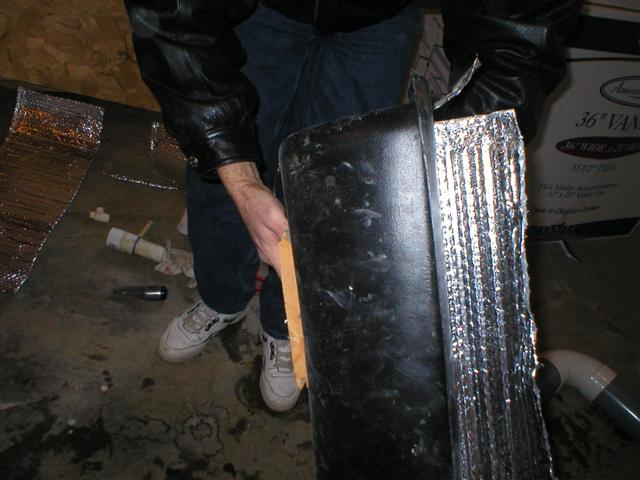
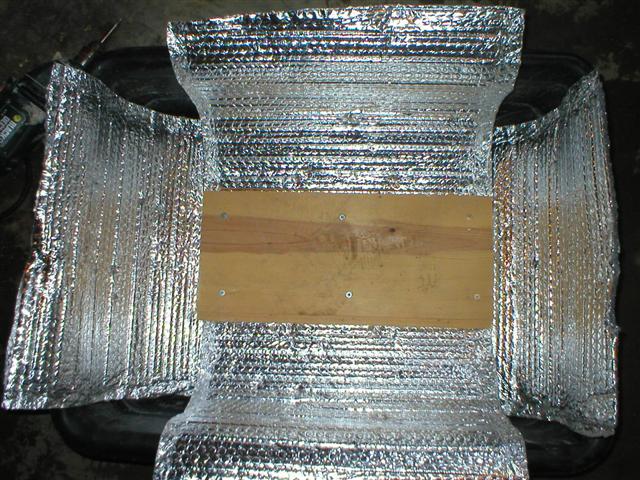
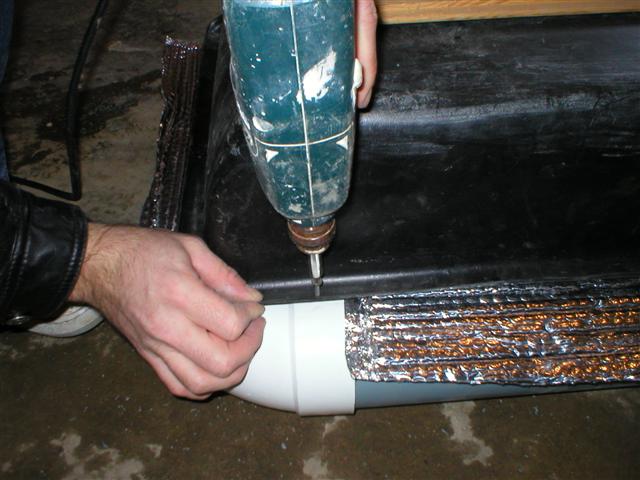
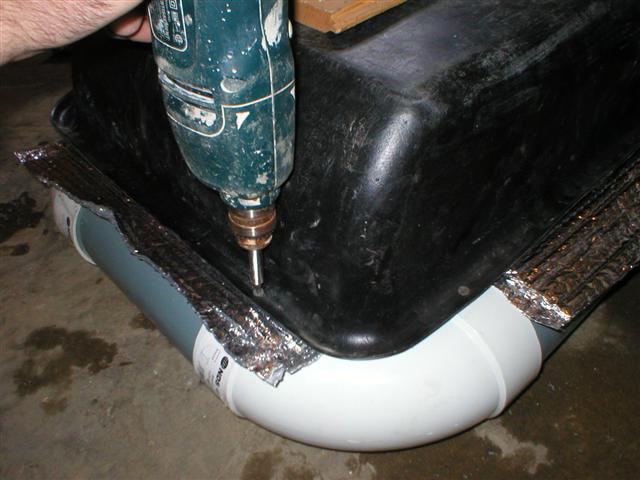
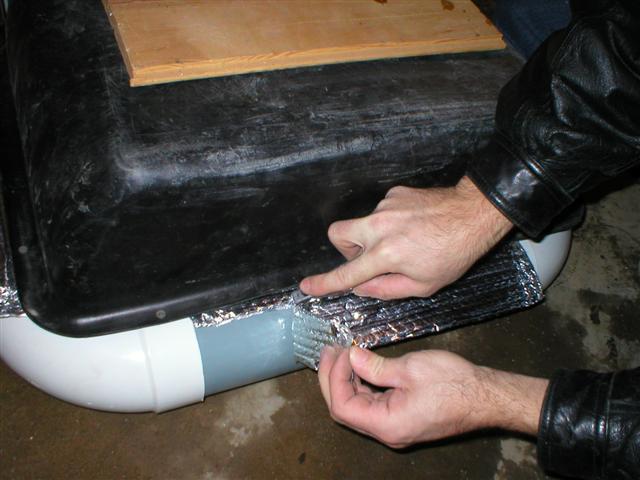
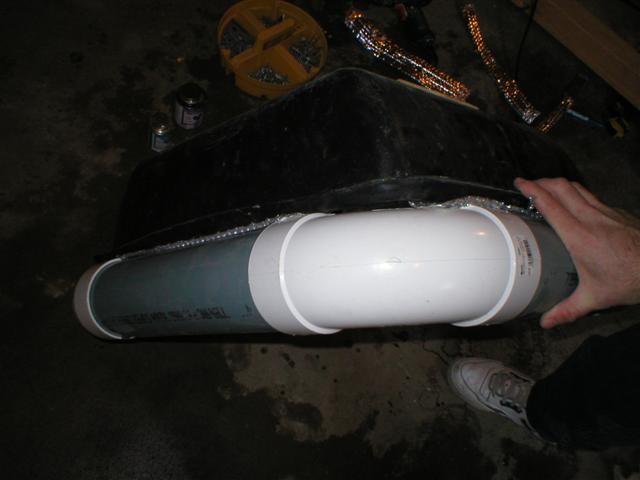
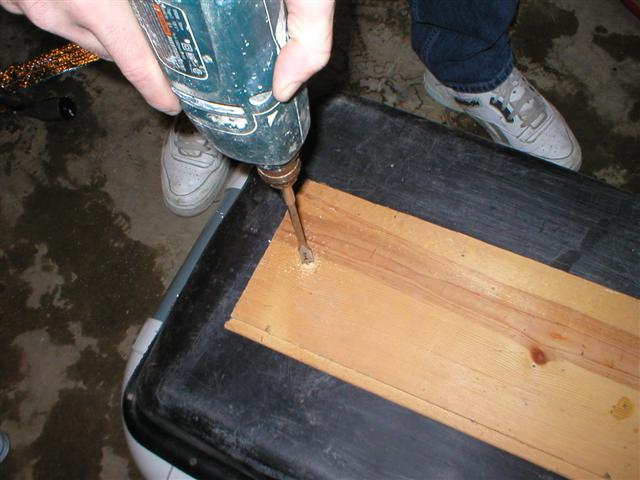
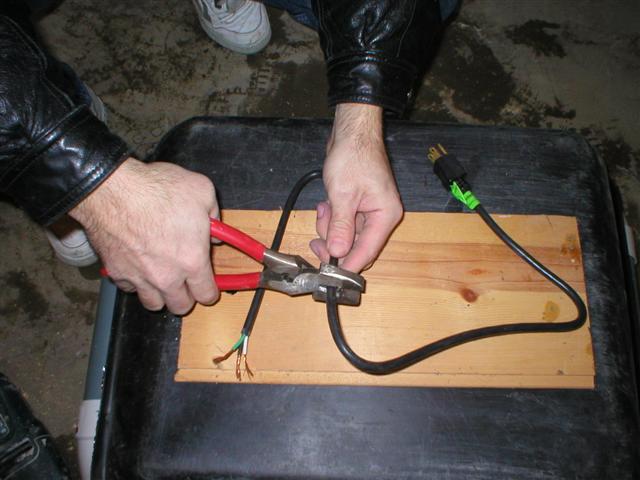
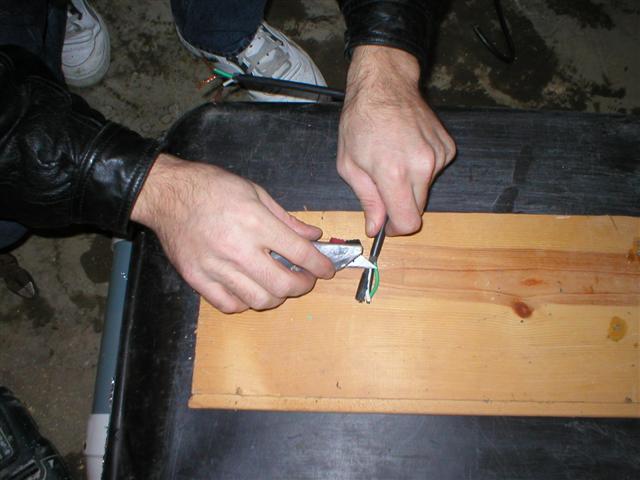
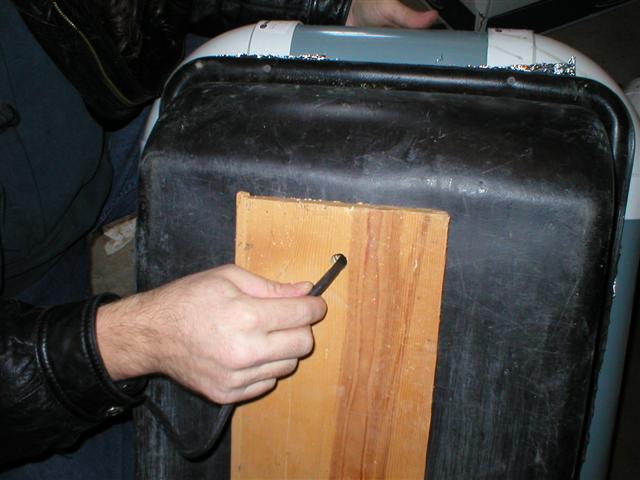
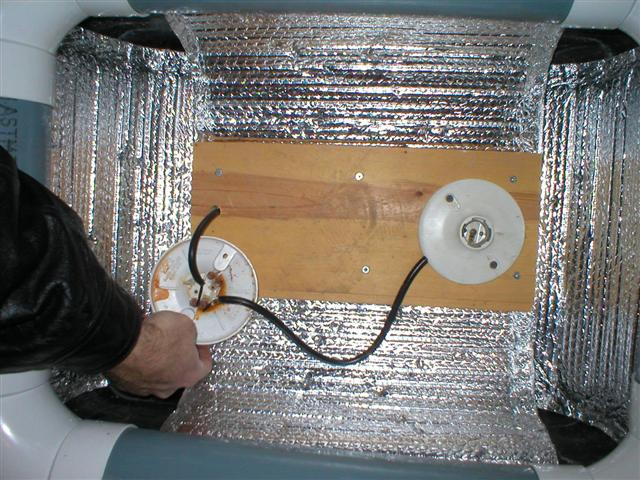
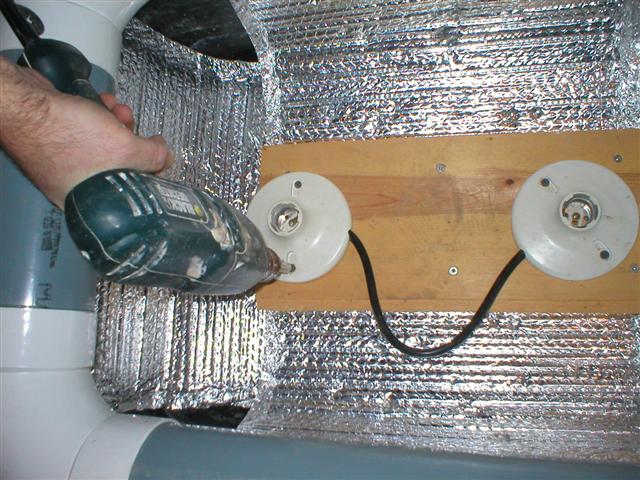
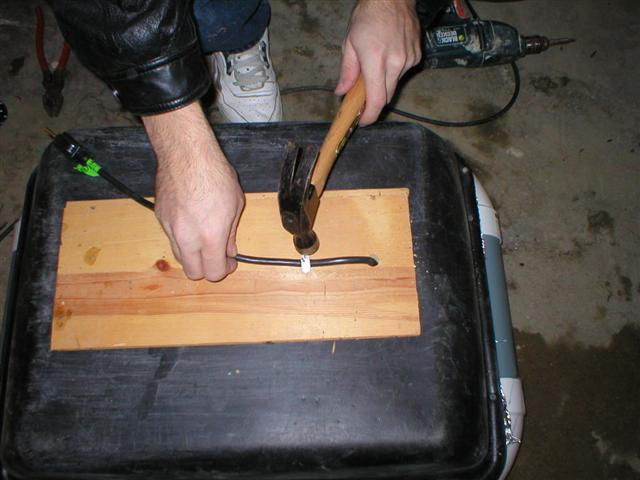
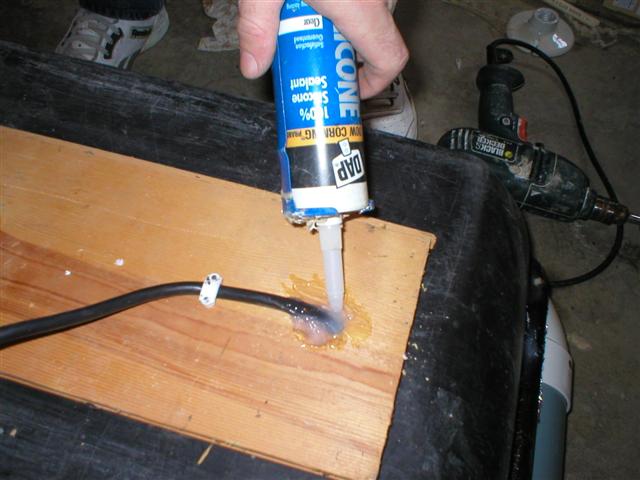
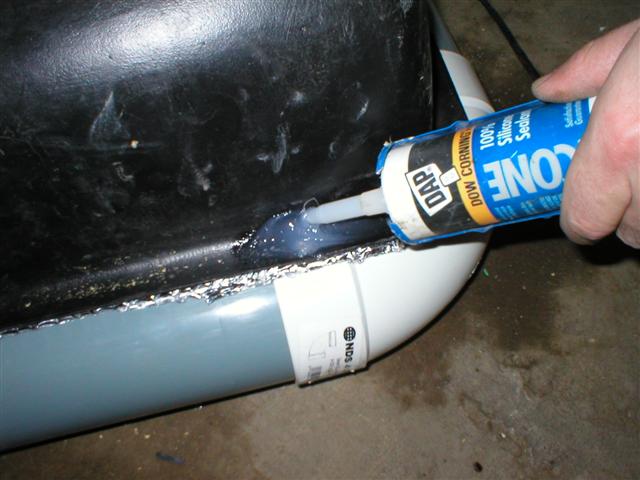
Assembly Instructions
|
||||||||||||||||||||||||||||||||||||||||||||
|
Other Sizes Check out the mullet! Hey, it was the 90's. Here are the 2 standard sized de-icers that I have assembled for clients: 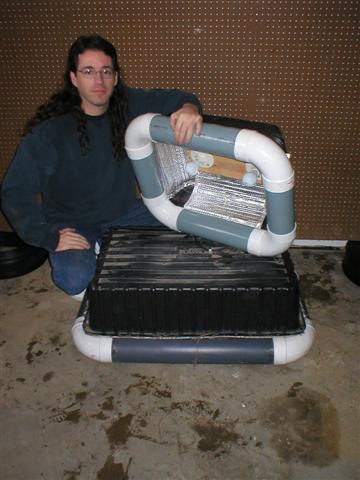 Here is an even larger size de-deicer that I build for my own pond (when I used to raise just goldfish) 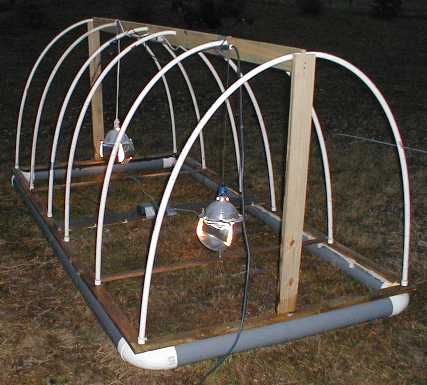 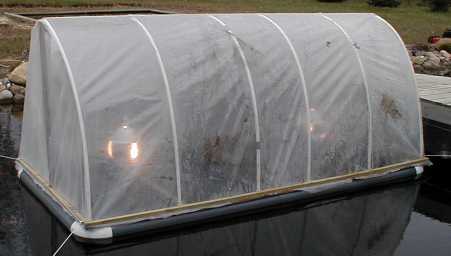 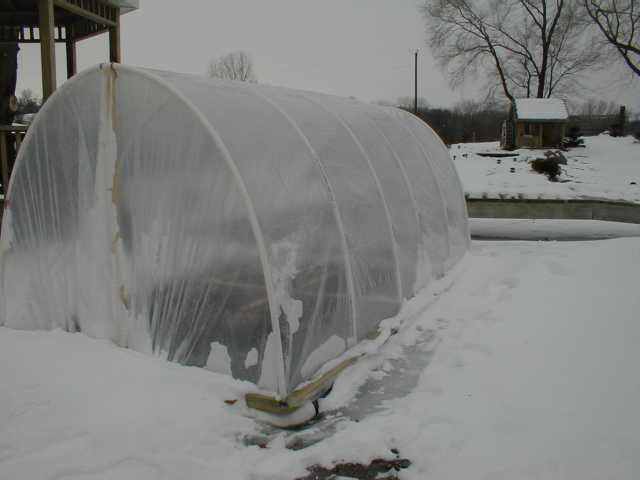 | ||||||||||||||||||||||||||||||||||||||||||||